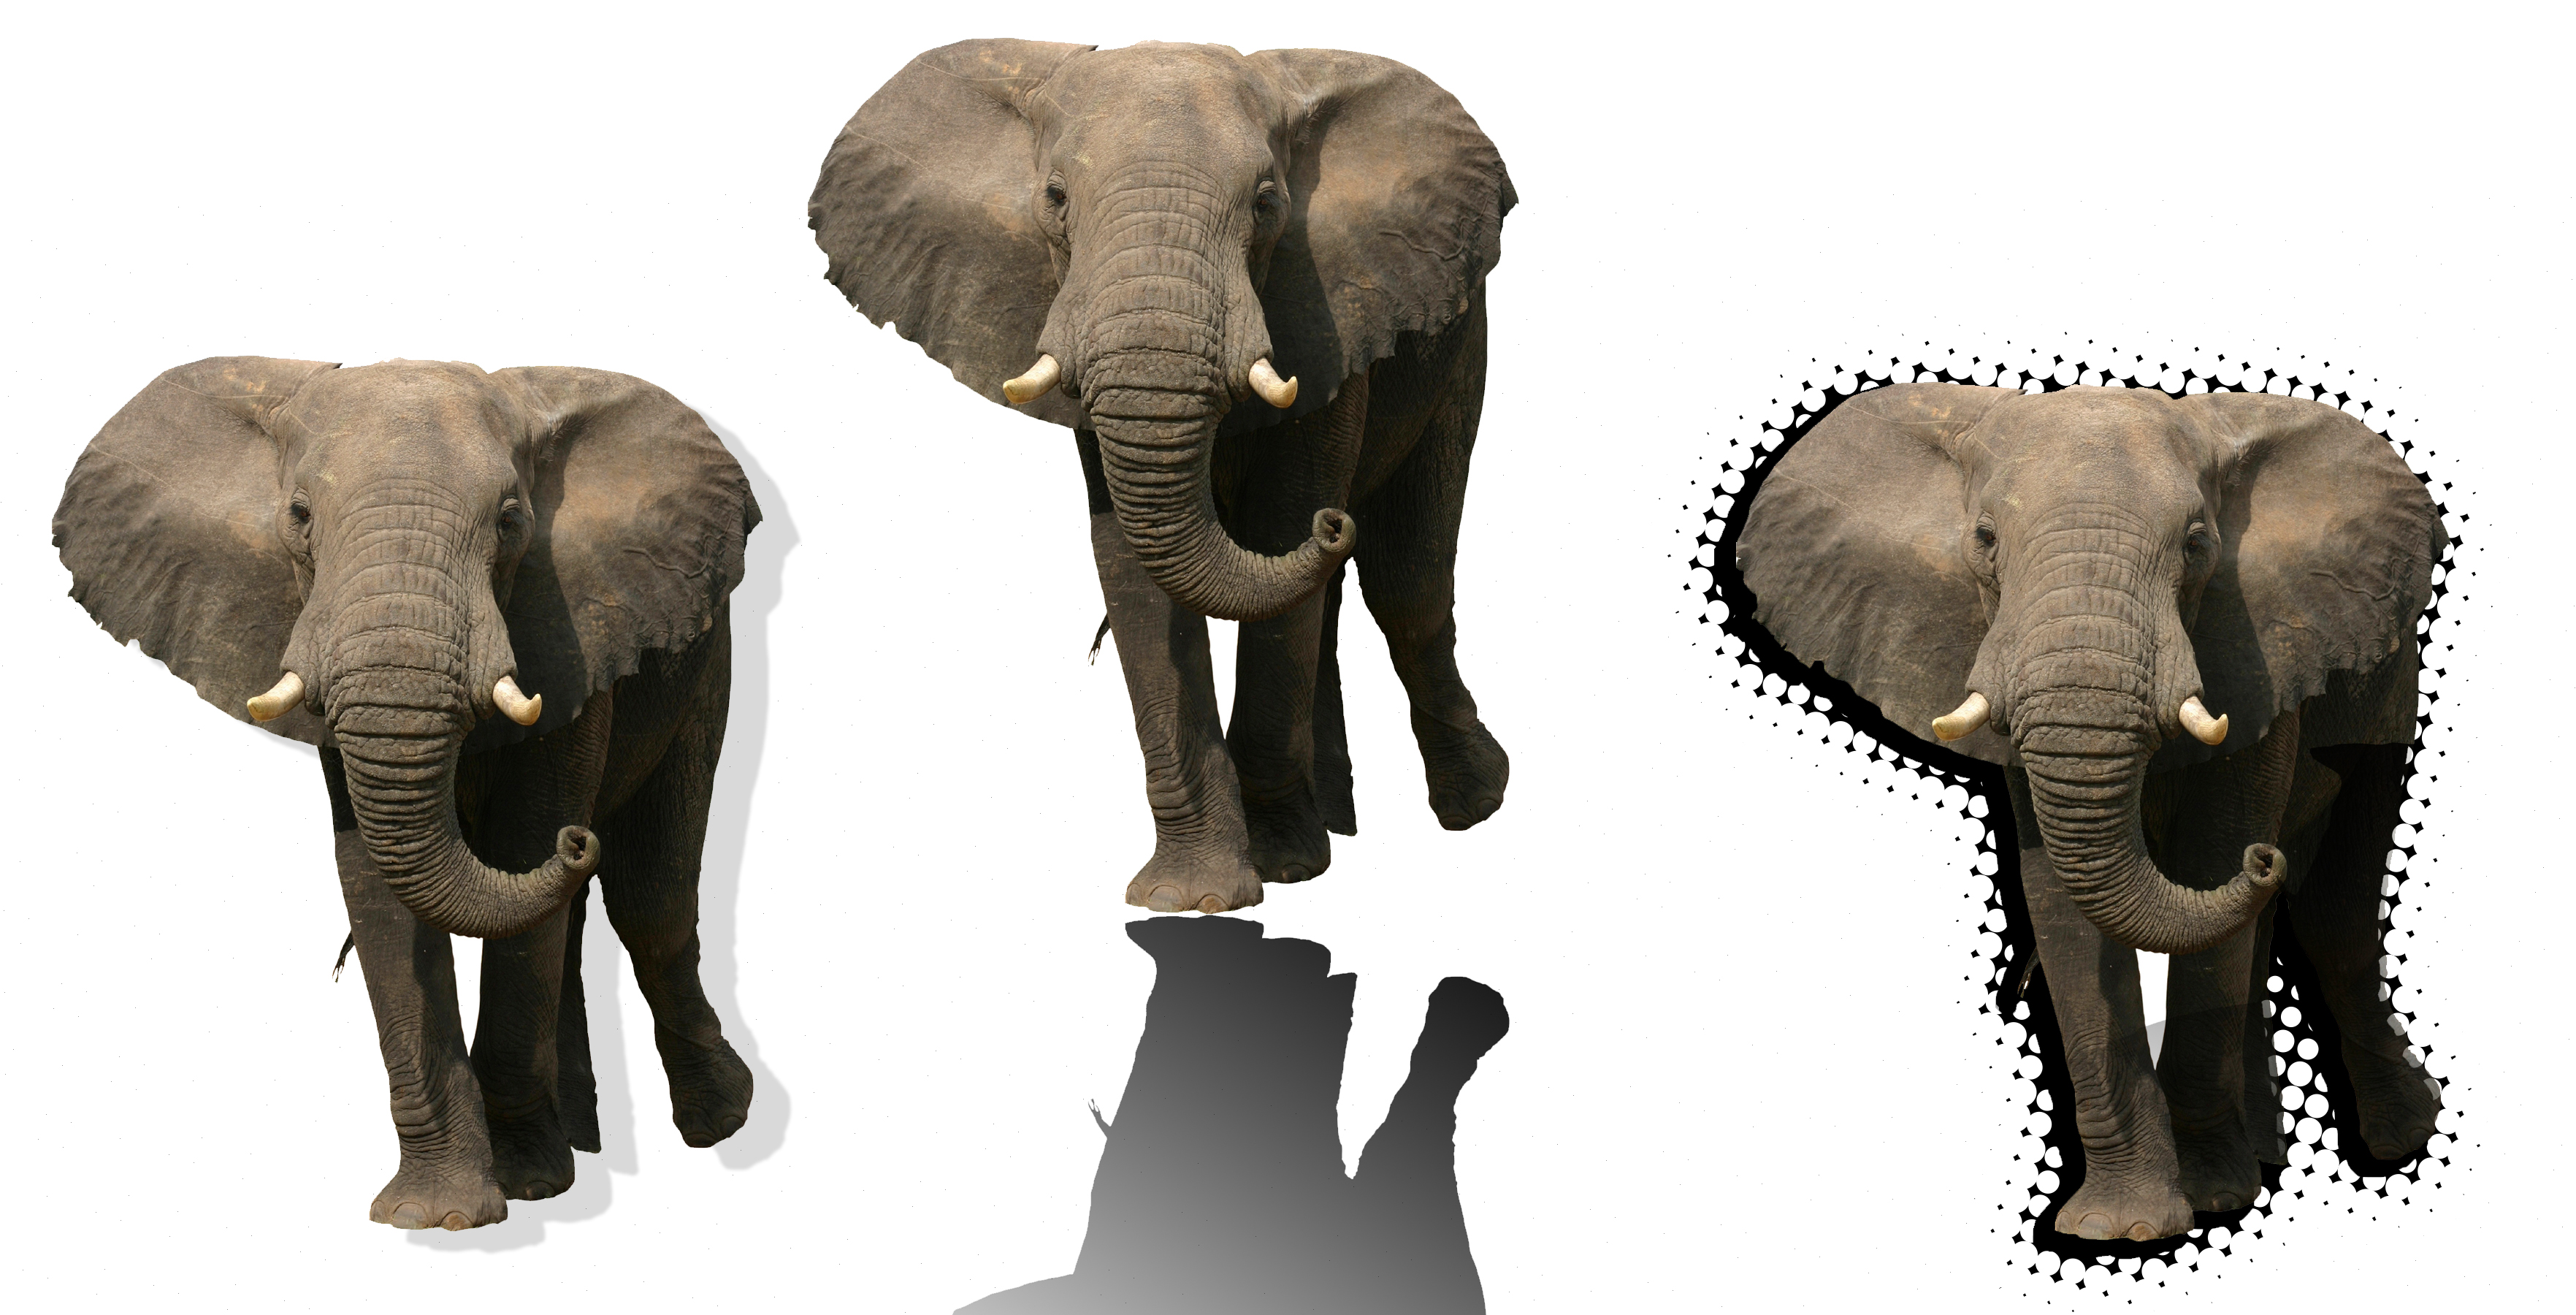
1st Elephant: Bottom of layers panel, layer style, drop shadow
2nd Elephant: New layer, black foreground color, select > load selection, fill with a black to clear gradient, free transform, drag shadow down to reflect the elephant, move layer down below elephant and link the 2 layers
3rd Elephant: New layer, black foreground colors, select > load selection, select > modify > expand 10 pixels, option delete makes the selection black, double click quick mask button, filter > pixelate >color halftone > 25 pixels, repeat this 3 times, click quick mask to get out of it, option delete, move layer below elephant and link 2 layers
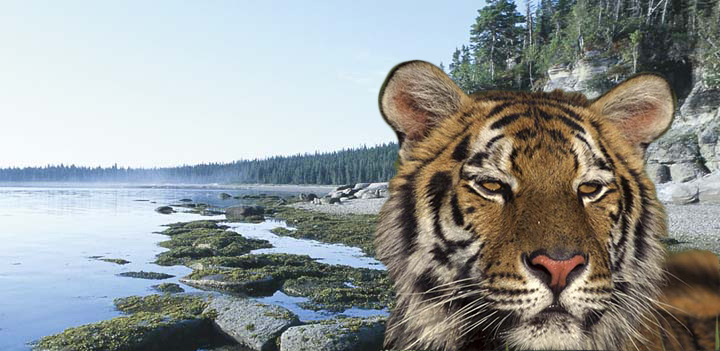
To properly adjust the water and the sky, I made three separate layers. I made a separate clipping layer for the sky and the sea, so I could adjust them separately.
To make it look like a more sunny day, I increased the brightness in the adjustments panel under the icon “brightness/contrast.” I did the same thing for the water clipping layer to make the reflection match the brighter sky.
Important note: After adding adjustments, be sure to clip the adjustment to the layer, so it only the affects the layer right below the adjust in the layers panel.
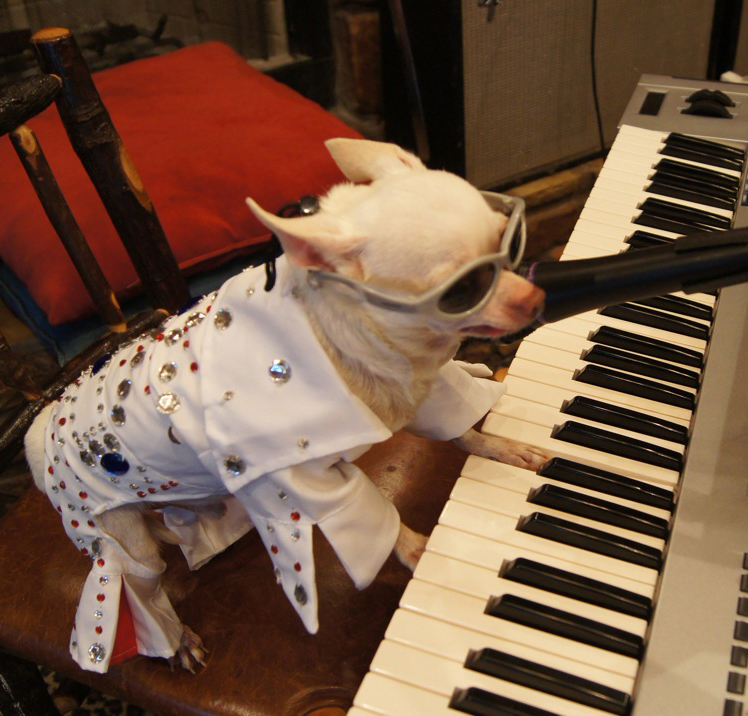
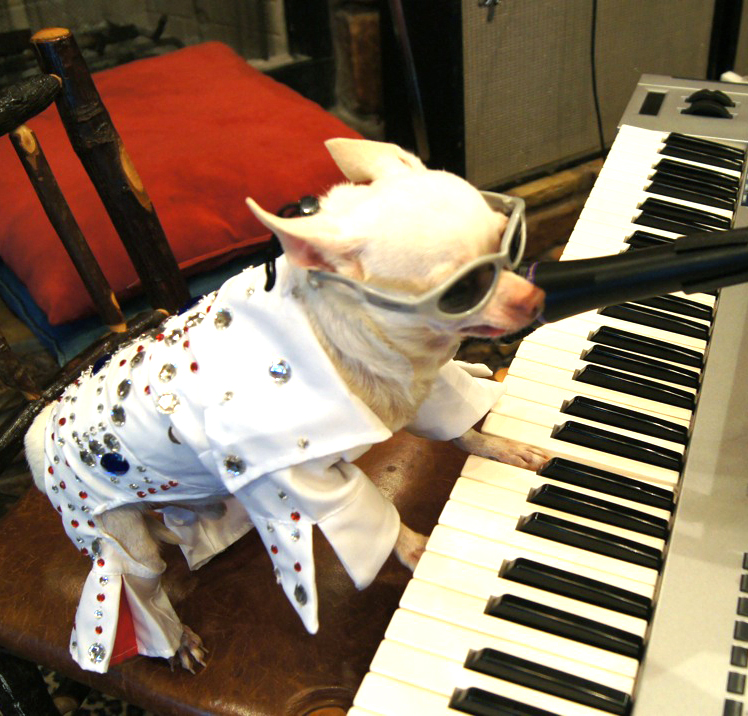
To adjust the coloring of this image, I used the “levels” tool in the adjustment panel. It shows a histogram of the darkest and lightest values, and it allows you to drag the handle to make the image brighter or darker.
The levels tool also allows you to use the eyedropper to pick one color, such as the whitest color in the image, to raise the lighter levels in the rest of the image.
You can also use the RGB pull down menu to adjust certain colors, in order to make them more apparent or more dull. I adjust the red to make the pillow less of a statement piece.
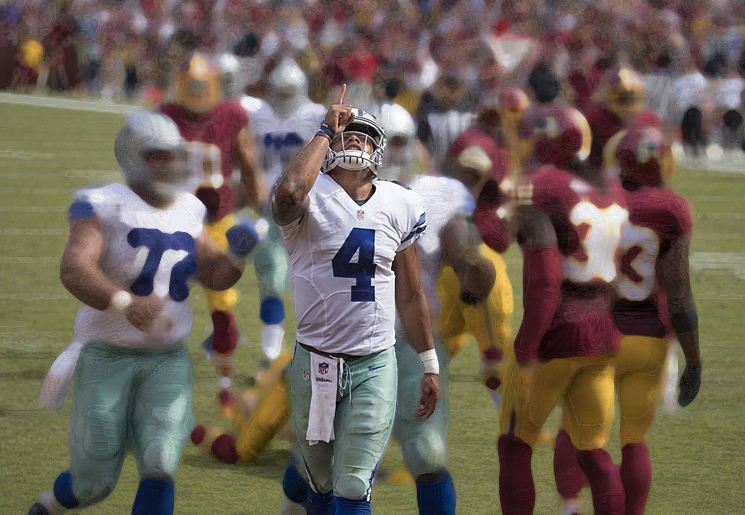
First, I made a copy of the original layer by using the command “Command-J” to jump the layer.
Then I selected Dan Prescott, number 4, with the lasso tool, created a mask by using the mask icon at the bottom of the layers panel, and cleaned up the surrounded edges with the black and white paintbrush tool.
I created several duplicates of the original image by Command-Jumping a few times, in order to play around with different background filters.
There are many filters to use including blur, brush, and dust and scratch, all of which can be viewed in the “filter gallery.” The masked image still appears above the filter and untouched by the filter. Note: make sure to have the layer selected when applying a filter!
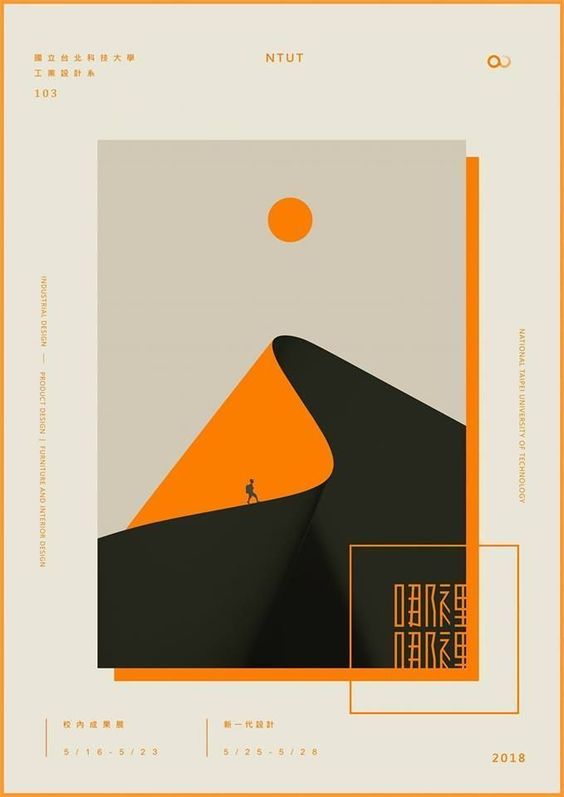
This poster is titled “Walking Towards the Mountatintop” and I found it on a website used to provide graphic designers with inspiration for different posters and projects. It acts as an example of an industrial design poster. The mountain is formed out of paper and it features a small man trekking upward to reach the sun.
What program was used to create it?
I think Illustrator was used to create this poster because it appears to have been made with vector graphics. The pen tool and ellipse tool are the main players in this piece, as well as the rectangle tool that was used to create the bounding boxes. But, the tools responsible for creating the illusion that the piece of “paper” is an actual mountain is the drop shadow tool. The gradient swatch tool might have also been used on the right side of the paper where it curves, in order to make it appear three dimensional.
What design elements were used?
This piece makes a good use of contrast. It is mostly composed of neutral colors, such as shades of grey and black, but the orange adds a contrast that makes the piece more interesting. Without the orange, it would not appear as 3D and it would not appeal to the viewer. There is also a strong sense of movement in this piece. The artist draws the viewer’s eye from the bottom to the top, which is done through the curve of the line and the focal point of the sun, which matches the bright orange of the mountain. Lastly, there is symmetry in this piece, in the case of the rectangles, which is perfect for an industrial magazine.
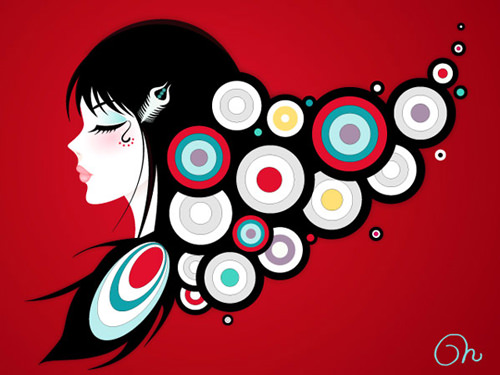
“Dreamcatcher” is a piece of artwork by Helen Huang that I found online. It was posted on a website to promote graphic designers. Huang uses shapes to create a picture of a woman that doubles as a dreamcatcher.
What program was used to create it?
I think the artist used Illustrator to create this because the shapes are simplistic and able to be created using the tools in Illustrator. The pen tool was used to create the woman’s faces, hair, and facial features. The ellipse tool was used to create the “hair.” The radial gradient tool was used for the red background, and the gradient swatch too was used to color the eyes and mouth.
What design elements were used?
The most prominent design element is repetition. The ellipse shapes are repeated in difference sizes and within each other to create the visual of hair. The image has a nice movement, as the “hair” looks fluid and natural. The is also emphasis with the red color that draws the viewer’s eye and leads them throughout the image.
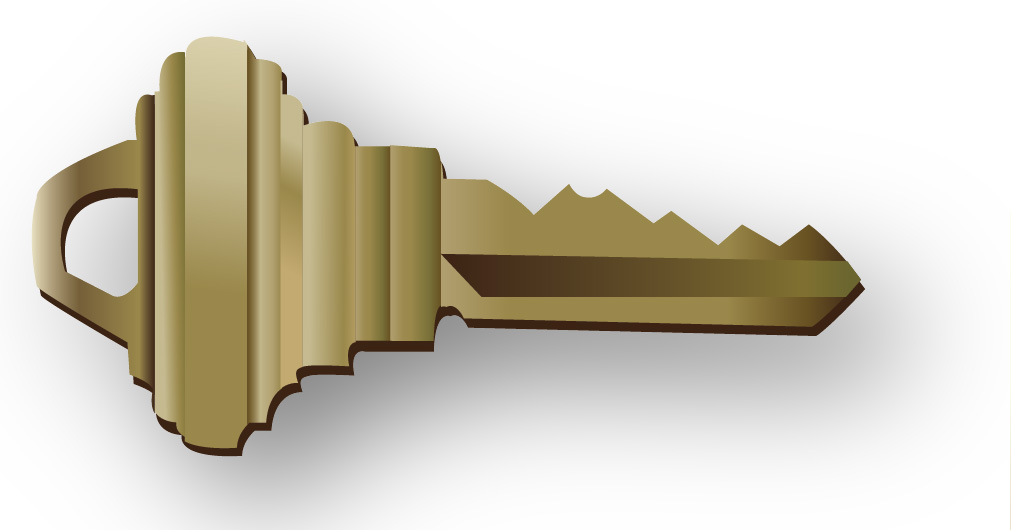
To make this key, I traced each section of the original key with the pen tool, and made sure the new key aligned perfectly. The “pathfinder” tool had to be used to cut out the hole in the top part of the key.
Each section of the key had different gradients, which I created from the swatches I made by pulling out colors from the original key.
In order to obtain the dark brown part of the key, I used the pen tool to trace the whole key and filled it with the dark brown color. Then I sent the image to the back, so it appeared to make the key “3D.”
Finally, I used the “drop shadow” tool under “effects” in the menu bar to add the shadow below the key.
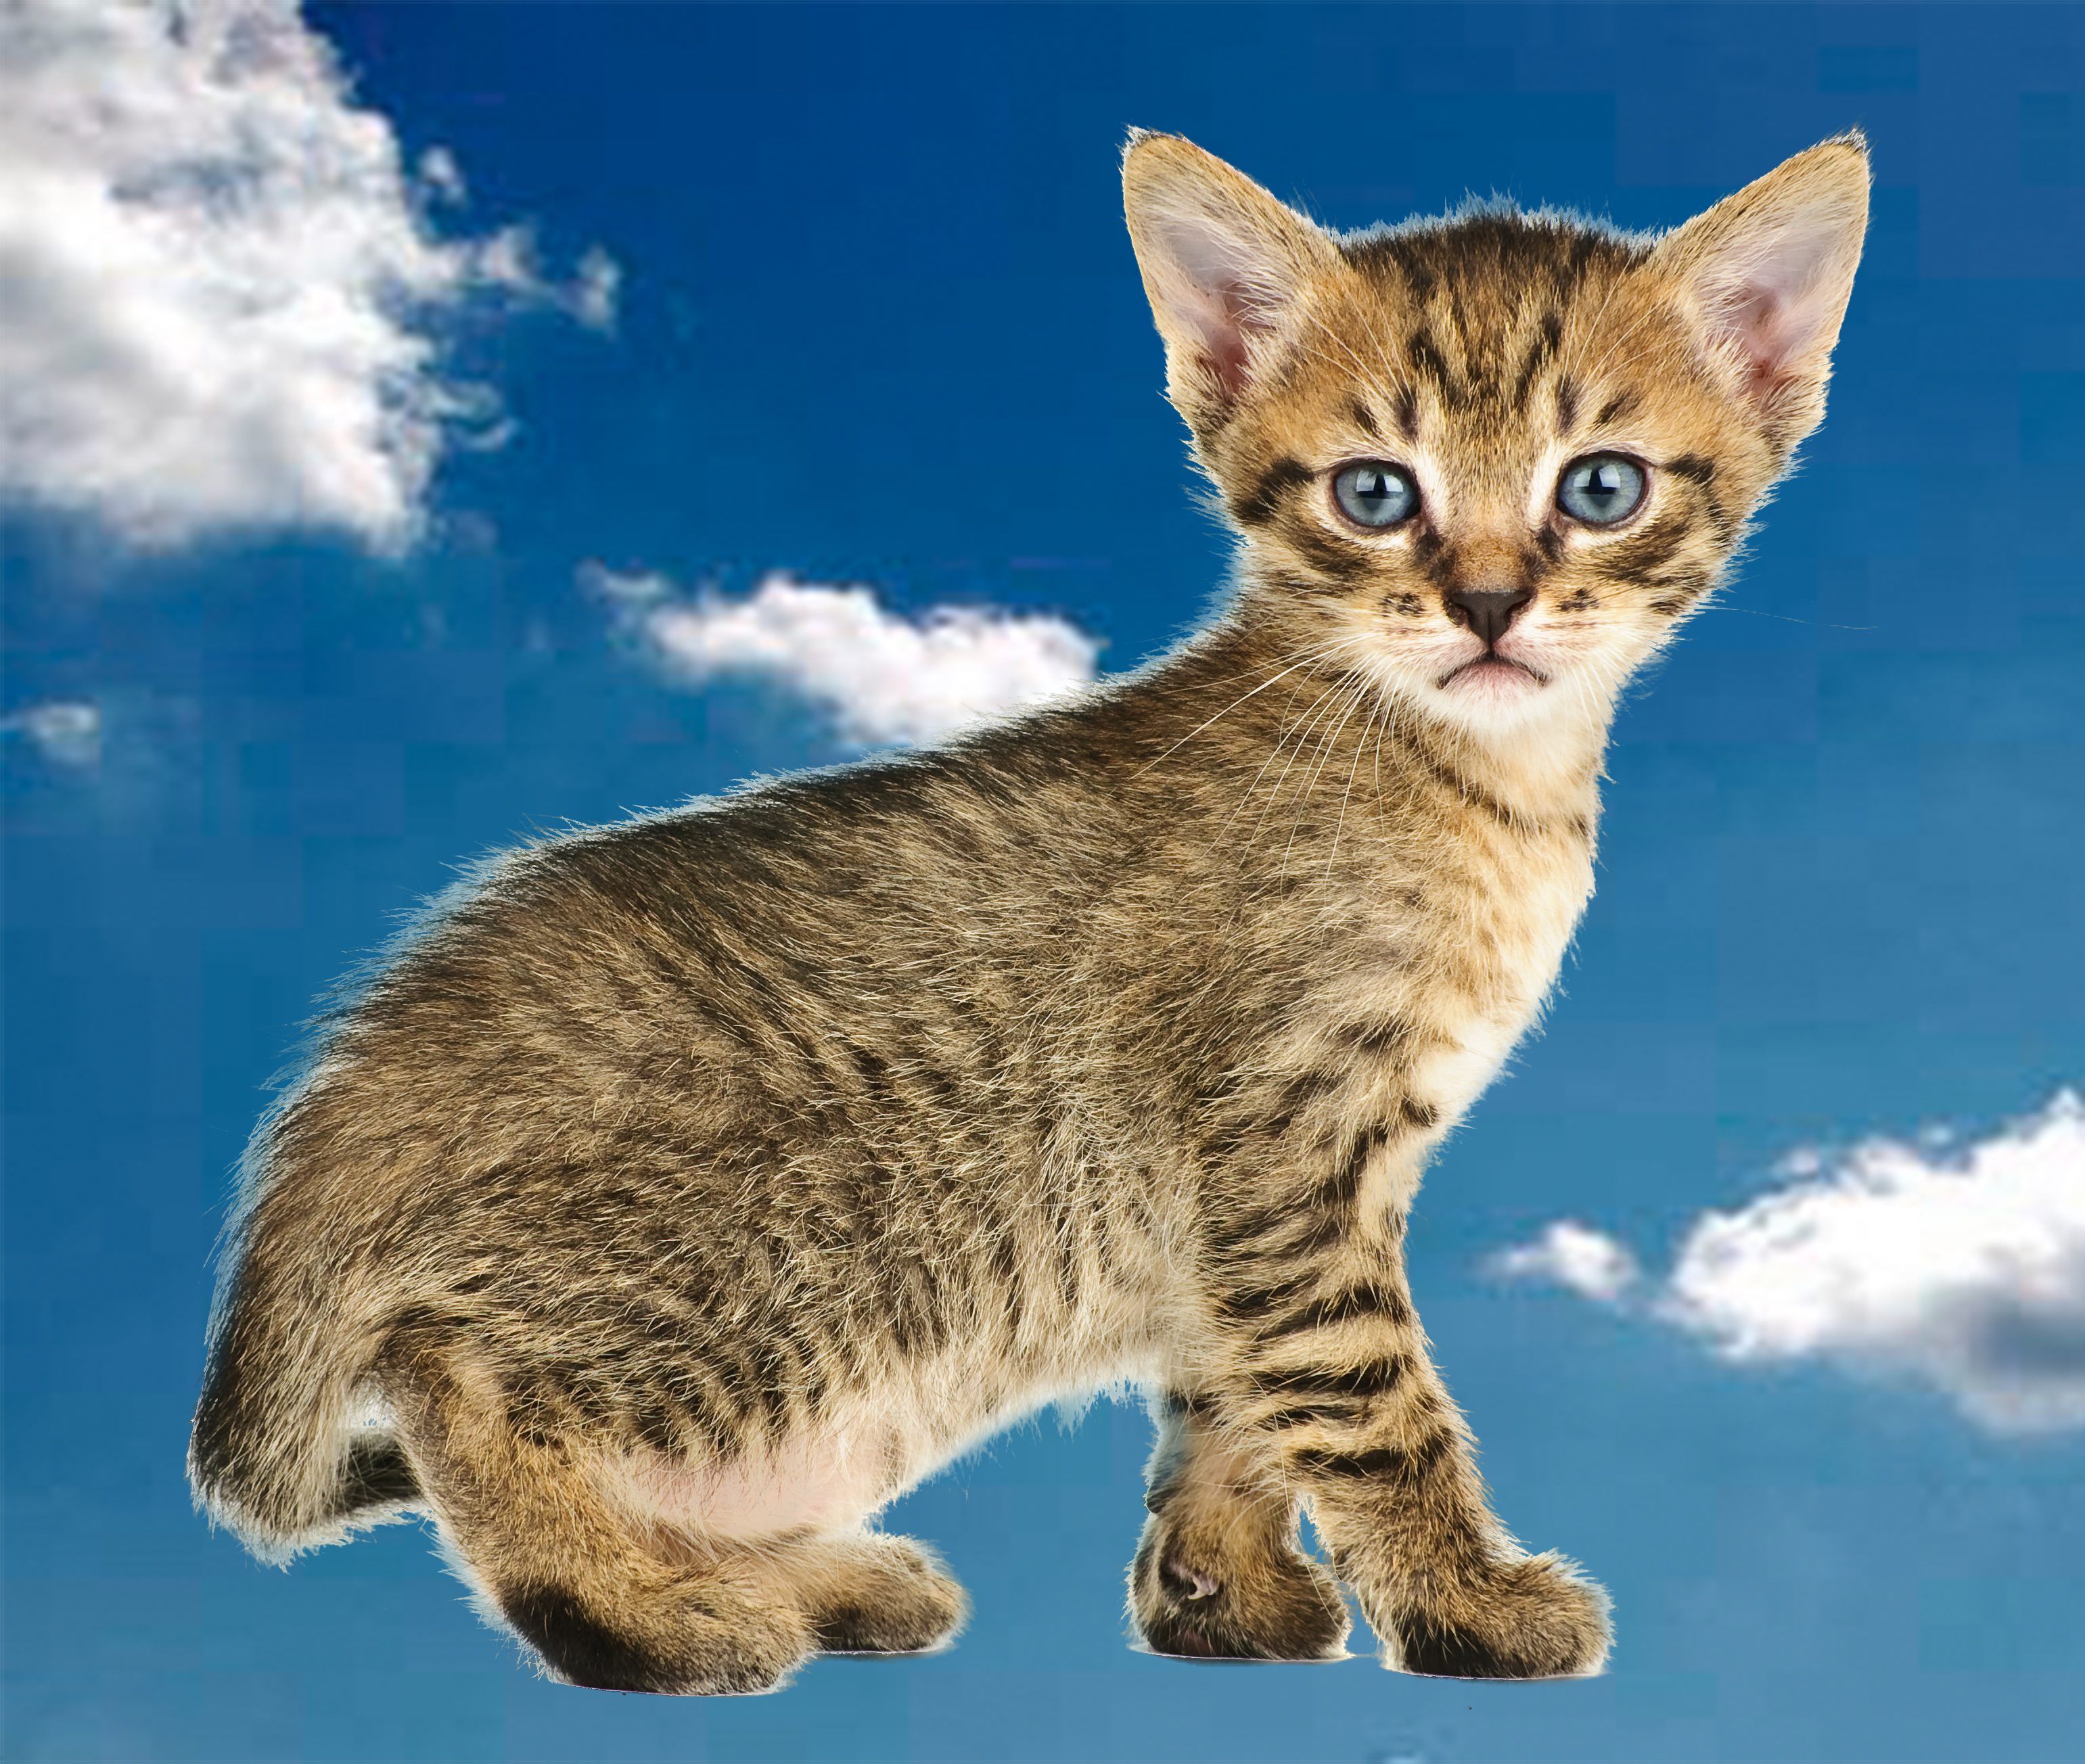
But, it was more difficult because the hair on the edges is more specific. In order to make it more real-looking, I had to use the “lasso” tool to add jagged lines to the selection where the fur stuck out. Then I had to make adjustments in the “refine edges” box to ensure the green background was fully and neatly removed.
Kitten
First, I went the to “channels” panel, right next to the layers panel, and duplicated the blue channel because it had the highest contrast.
Then, I used the “command-L” command, and darkened the mid-tones on the blue channel so that the kitten was almost completely black. To make the rest of the kitten black, I used to the black paintbrush to fill the inside, but I used the “dodge and burn” tools for the outside fur. The dodge tool targets the “highlights,” while the burn tool targets the “shadows.” I dragged my mouse along the edges of the kittens with these tools selection to cleanly select and darken the fur.
-To convert the channel to a mask, I command-clicked on the blue copy layer and turned the other channels back on. Then I returned to the kitten layer and inverted the kitten so it was the only object selected.
Lastly, to “defringe” the mask, I made sure to be on the kitten layer, then selected “layers” > “matting” > “color decontaminate.” This helped reduce the white edges around the cat. All done!
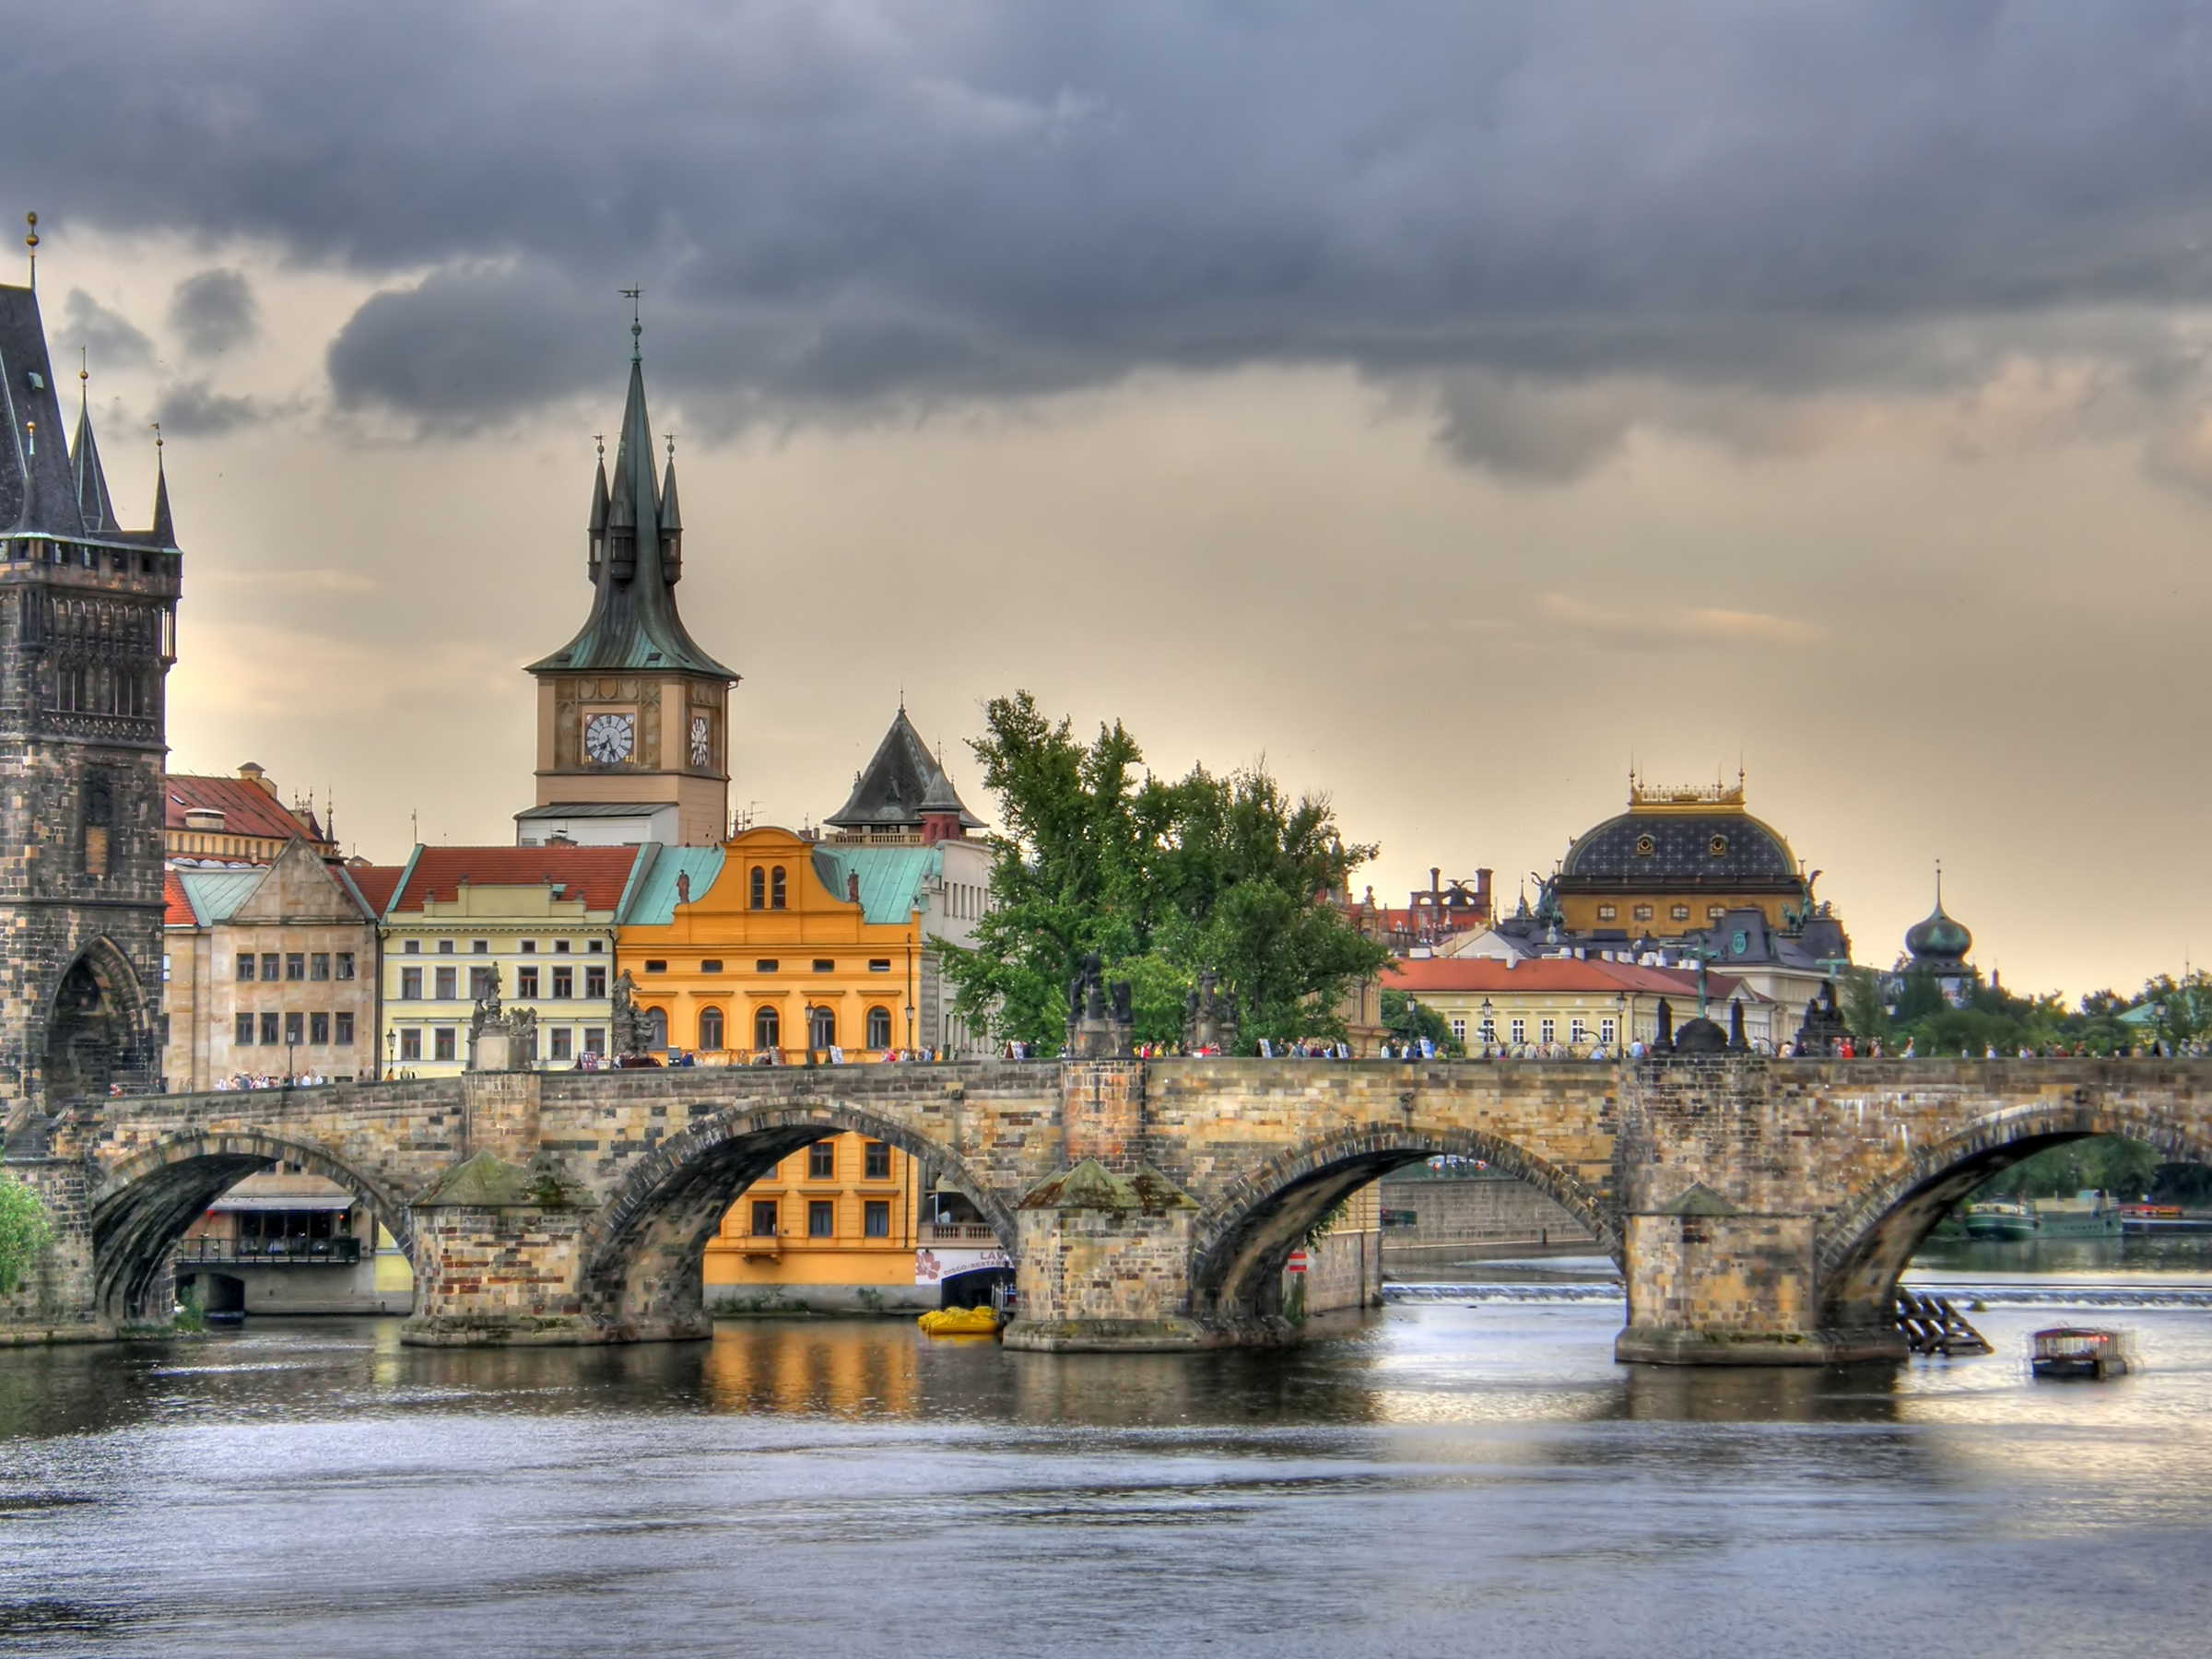
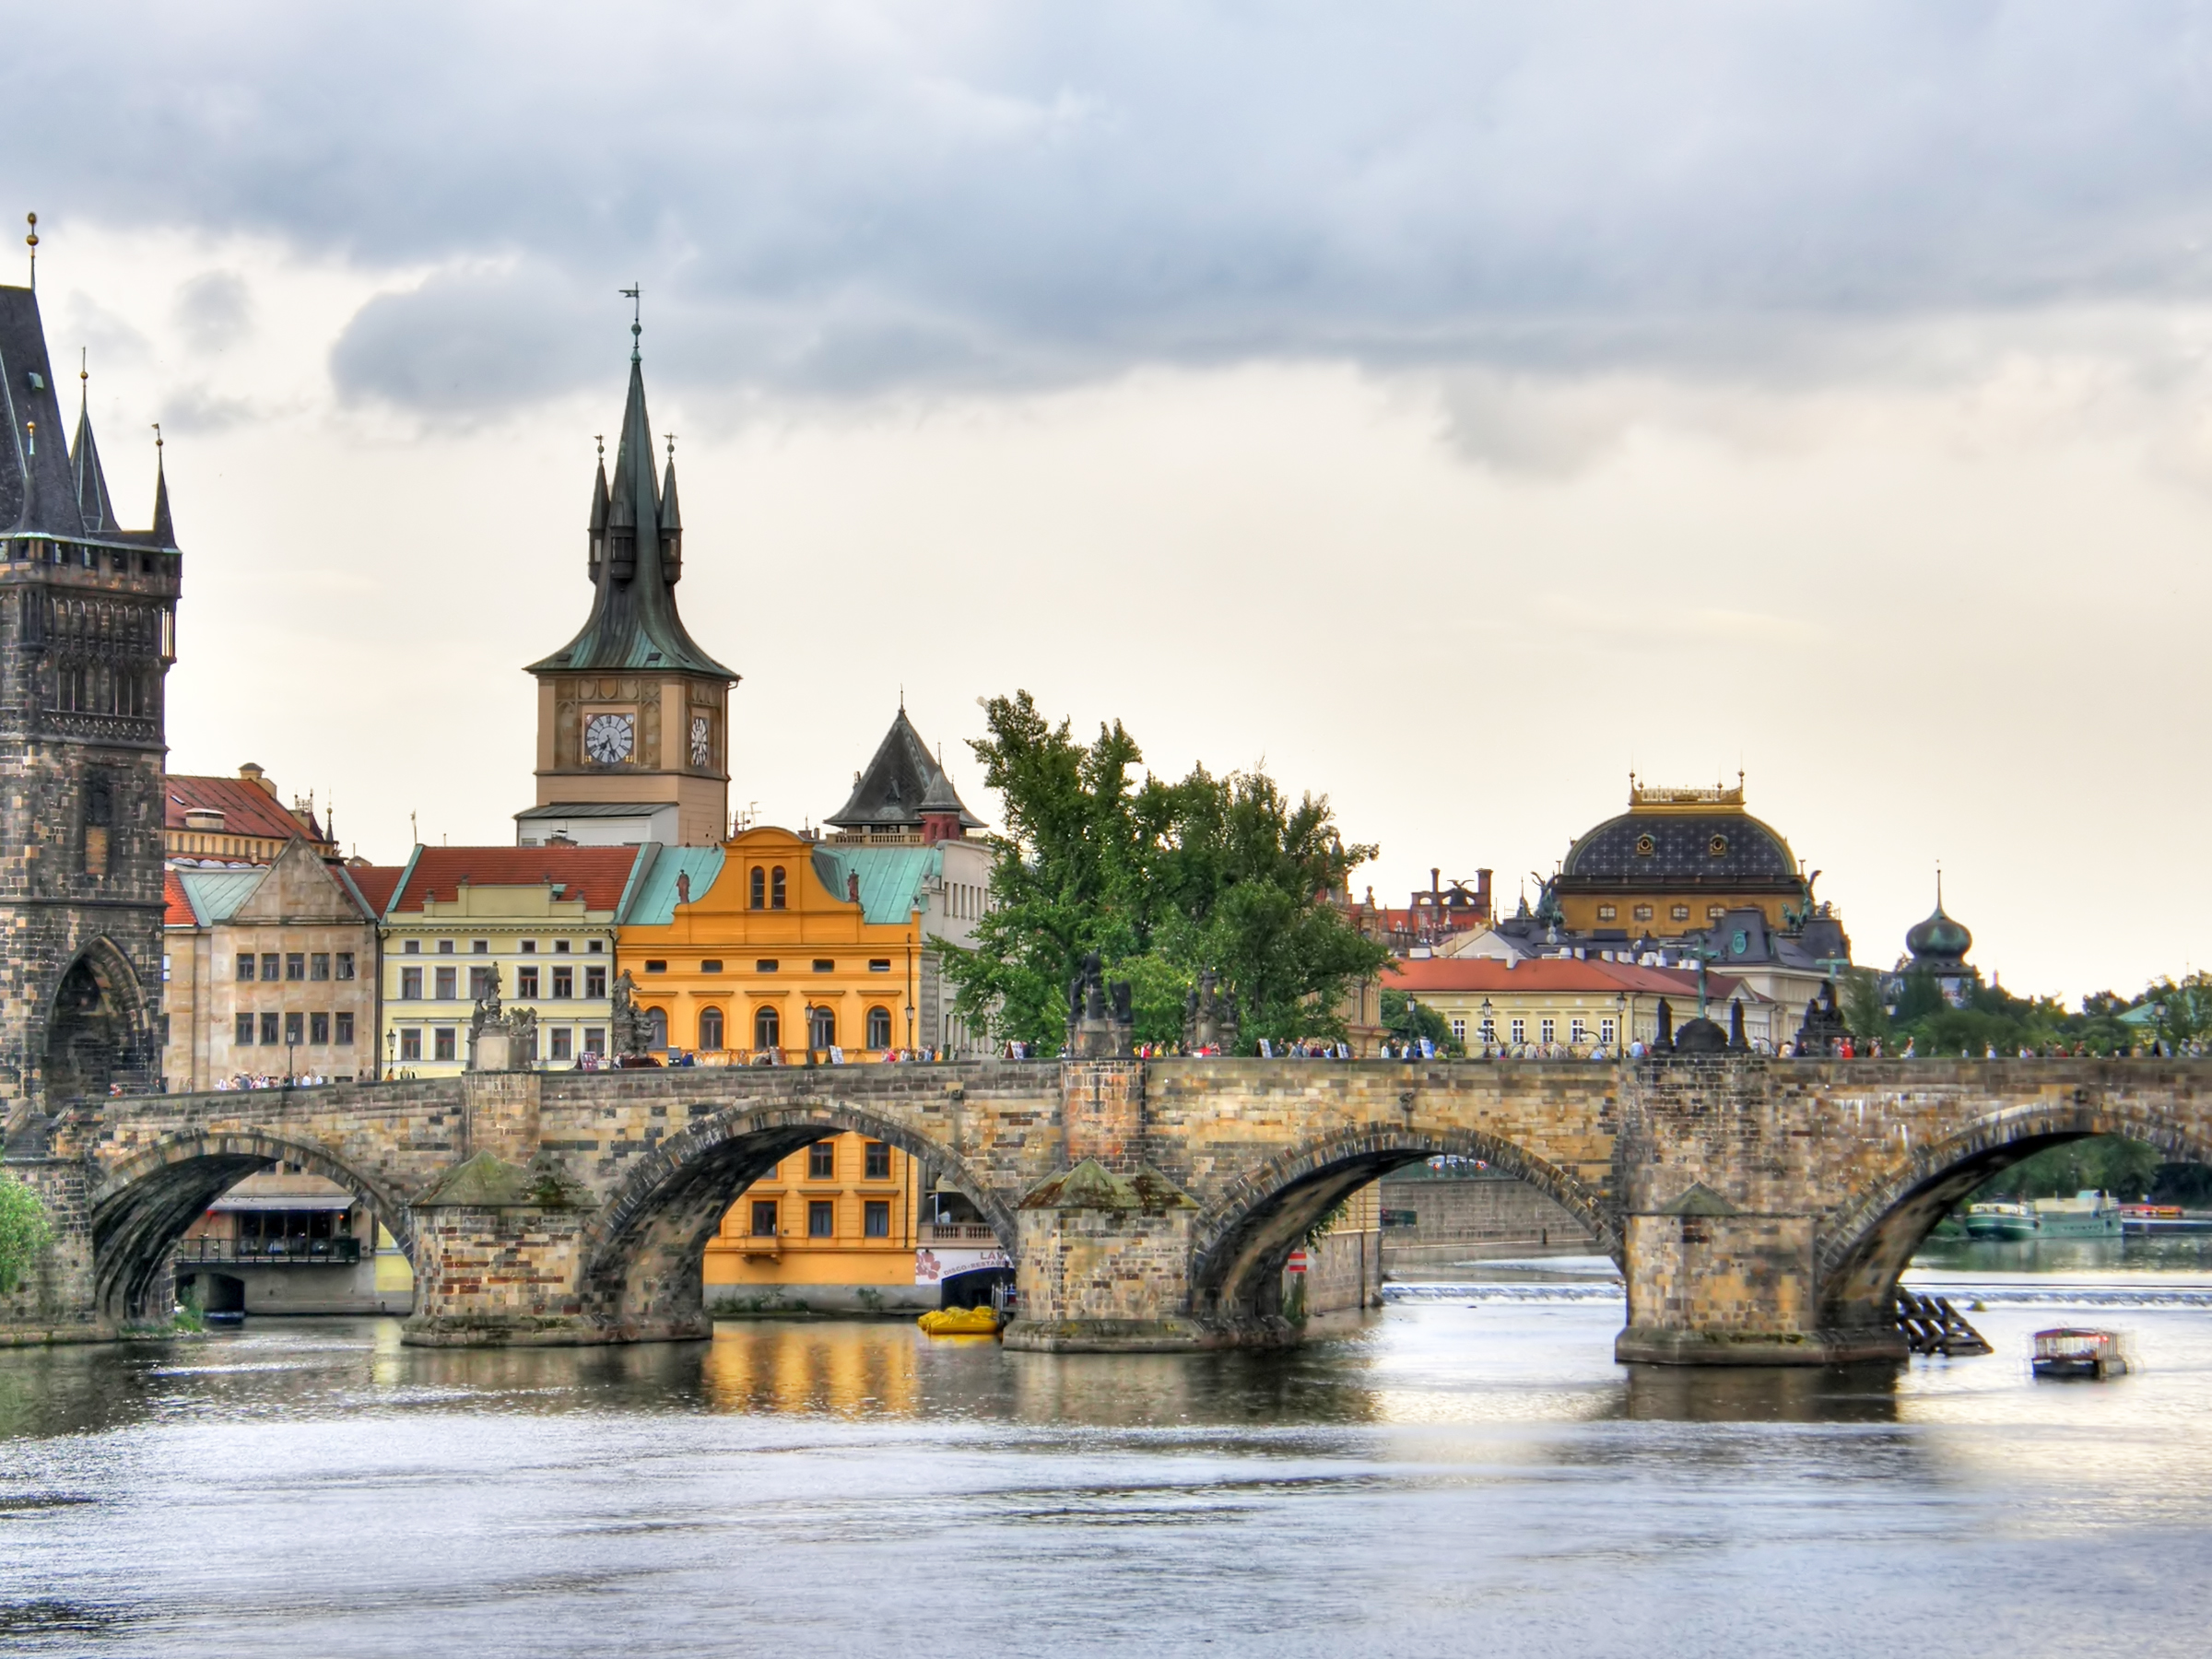
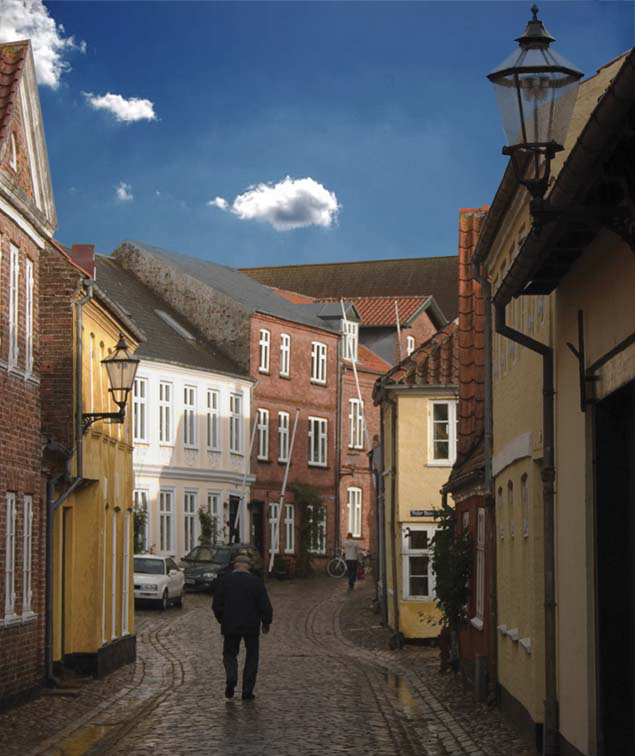
To replace the grey sky in the first city photo with the new blue sky, we had to create a clipping mask.
But before this, it was important to upload the second image by doing “file” “place embedded.” To make sure the image is no longer a smart object, right click on the image in the layers panel and click “rasterize.”
I aligned the sky with how I wanted it to appear when the grey sky was removed. I did this by selecting the sky with the “polygonal selection tool” and then using the “select” “inverse” tool to select the city.
Then I clicked the tool on the bottom of the layers panel, called “add vector mask” to cut out the sky and replace it with the new sky.
To make the lamp post look more realistic, I use the grey color on the foreground swatch in order to add some transparency.
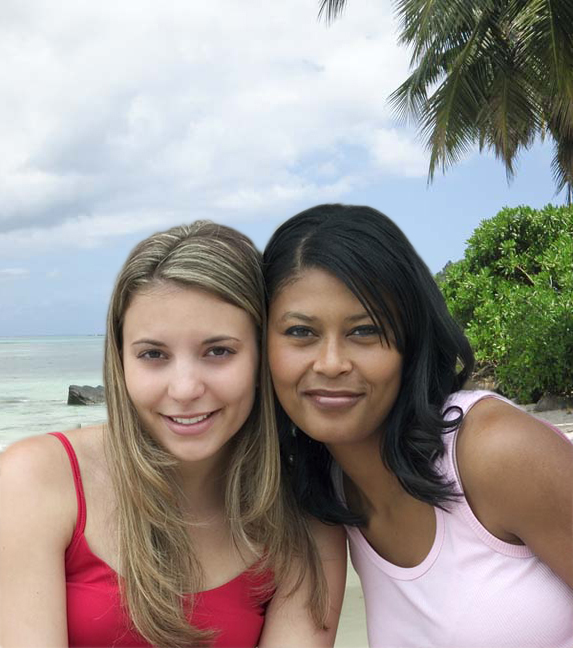
On the second image of the girls on the beach, I selected the girls with the “direct selection tool” then used the same tool, the “add vector mask” to replace the grey background with the beach background.
To adjust any faults in the clipping mask, I double clicked on the photo of the clipping mask in the layers panel, which opened up more options, such as “smooth,” “feather,” “contrast,” and “shift edge.” All of these tool help to clean up the edges of the cut out. The panel on the left included paintbrush tools that help add and subtract from the selection.
The “elliptical marquee” tool is useful in selecting oval or circular shaped objects. If you press “shift,” it makes a perfect circle, and if you press “option” if allows you to start the marquee in the middle and drag outward.
The “lasso” tool is helpful in selecting a very specific object, but it is difficult because it takes a careful hand and often leaves white space around the edges of the shape. After an object is selected, you can press “shift” for a positive marquee to add part of the object to the marquee, or “option” for a negative marquee to subtract part of the object from the marquee.
The “polygonal lasso” tool is helpful in selecting objects with a straight line because it works in the same fashion as the pen tool in Illustrator.
The “magnetic lasso” tool selects objects that have defined lines or borders. When moving the mouse around an object, this tool follows the shape easily and cleanly. If it is not exact, the “lasso” tool can be selected again and the “shift” and “option” commands be use to add or subtract from the marquee.
The “magic wand” tool is helpful in selecting and detecting blocks of color in objects. You can “shift” click multiple objects to marquee them based on their color.
As in the skeleton example, in order to clear the background within the skull, I used the “magic wand” tool to select the cream colored space, then deleted it. This left the checkered background that tells us that nothing exists in that space. Then I used the lasso tool to easily select multiple shapes at a time without the extra white color around them.
When I finished marqueeing and copy & pasting every item from the original skeleton to the new skeleton, I used the crop tool and the paint bucket tool to save only my new skeleton with the black background.
Important tips: The object layer you are working with has to be selected if you want to work on that object. “Command J” can be used to copy an object and add it to a new layer.