No Merchandising. Editorial Use Only. No Book Cover Usage
Mandatory Credit: Photo by Moviestore/REX/Shutterstock (2295319a)
NEW GIRL (TV) (2011)
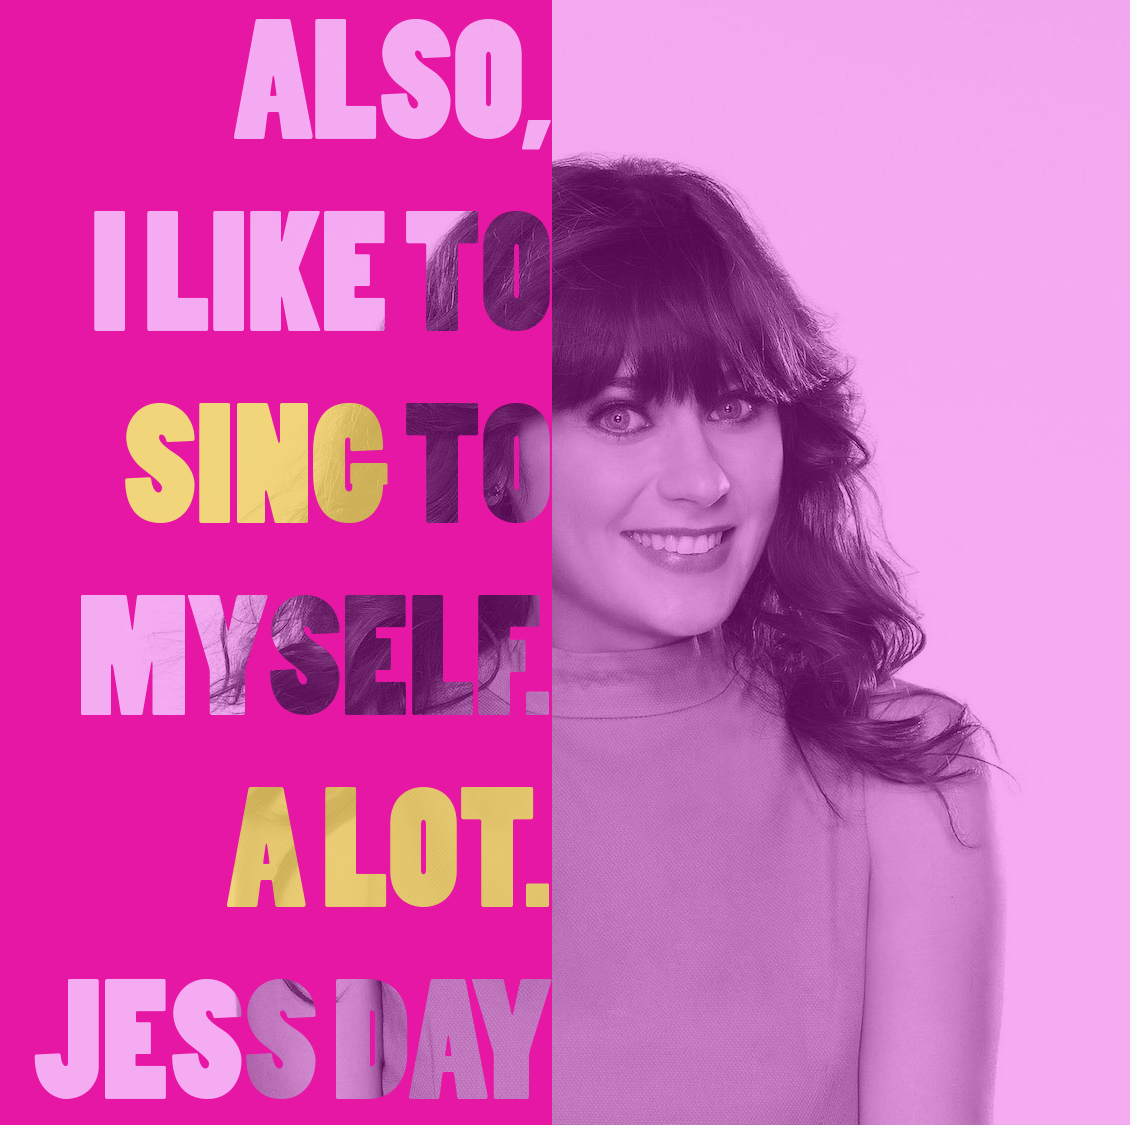
Zooey Deschanel
001
New Girl – 2011
Type Masking in Photoshop
To make this type mask, I first drew a solid box with the rectangle tool.
Then I used the Horizontal Type Mask Tool to type the quote.
When I had it placed like I wanted it to lay over the picture, I clicked on a different tool so the ants would appear.
Then I selected the inverse of the type layer, and then created a mask.
I just added more opaque rectangles behind the layer to create the yellow text.
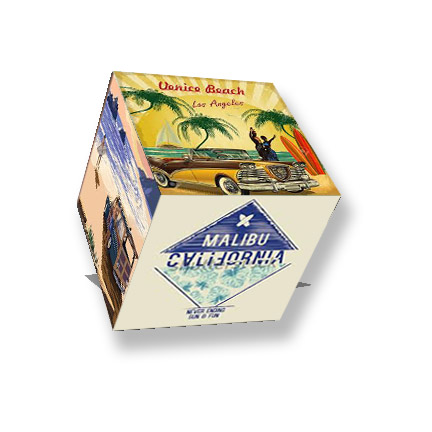
I first made a rectangle with the rectangular shape tool. Then I clicked 3D in the top menu > New 3D Extrusion from Selected Layer. This changes the workspace from Essentials to 3D.
Once in this workspace, you can click and drag to rotate, expand, and move the object along the X and Y axes.
To add pictures, choose images and “place embedded.” When they are selected for transformation, you can control click to drag the edges to match the corners of the cube exactly.
The same process can be done for type (remember that to select the type, you click select > load selection). A gradient can be added to text in the Fx menu.
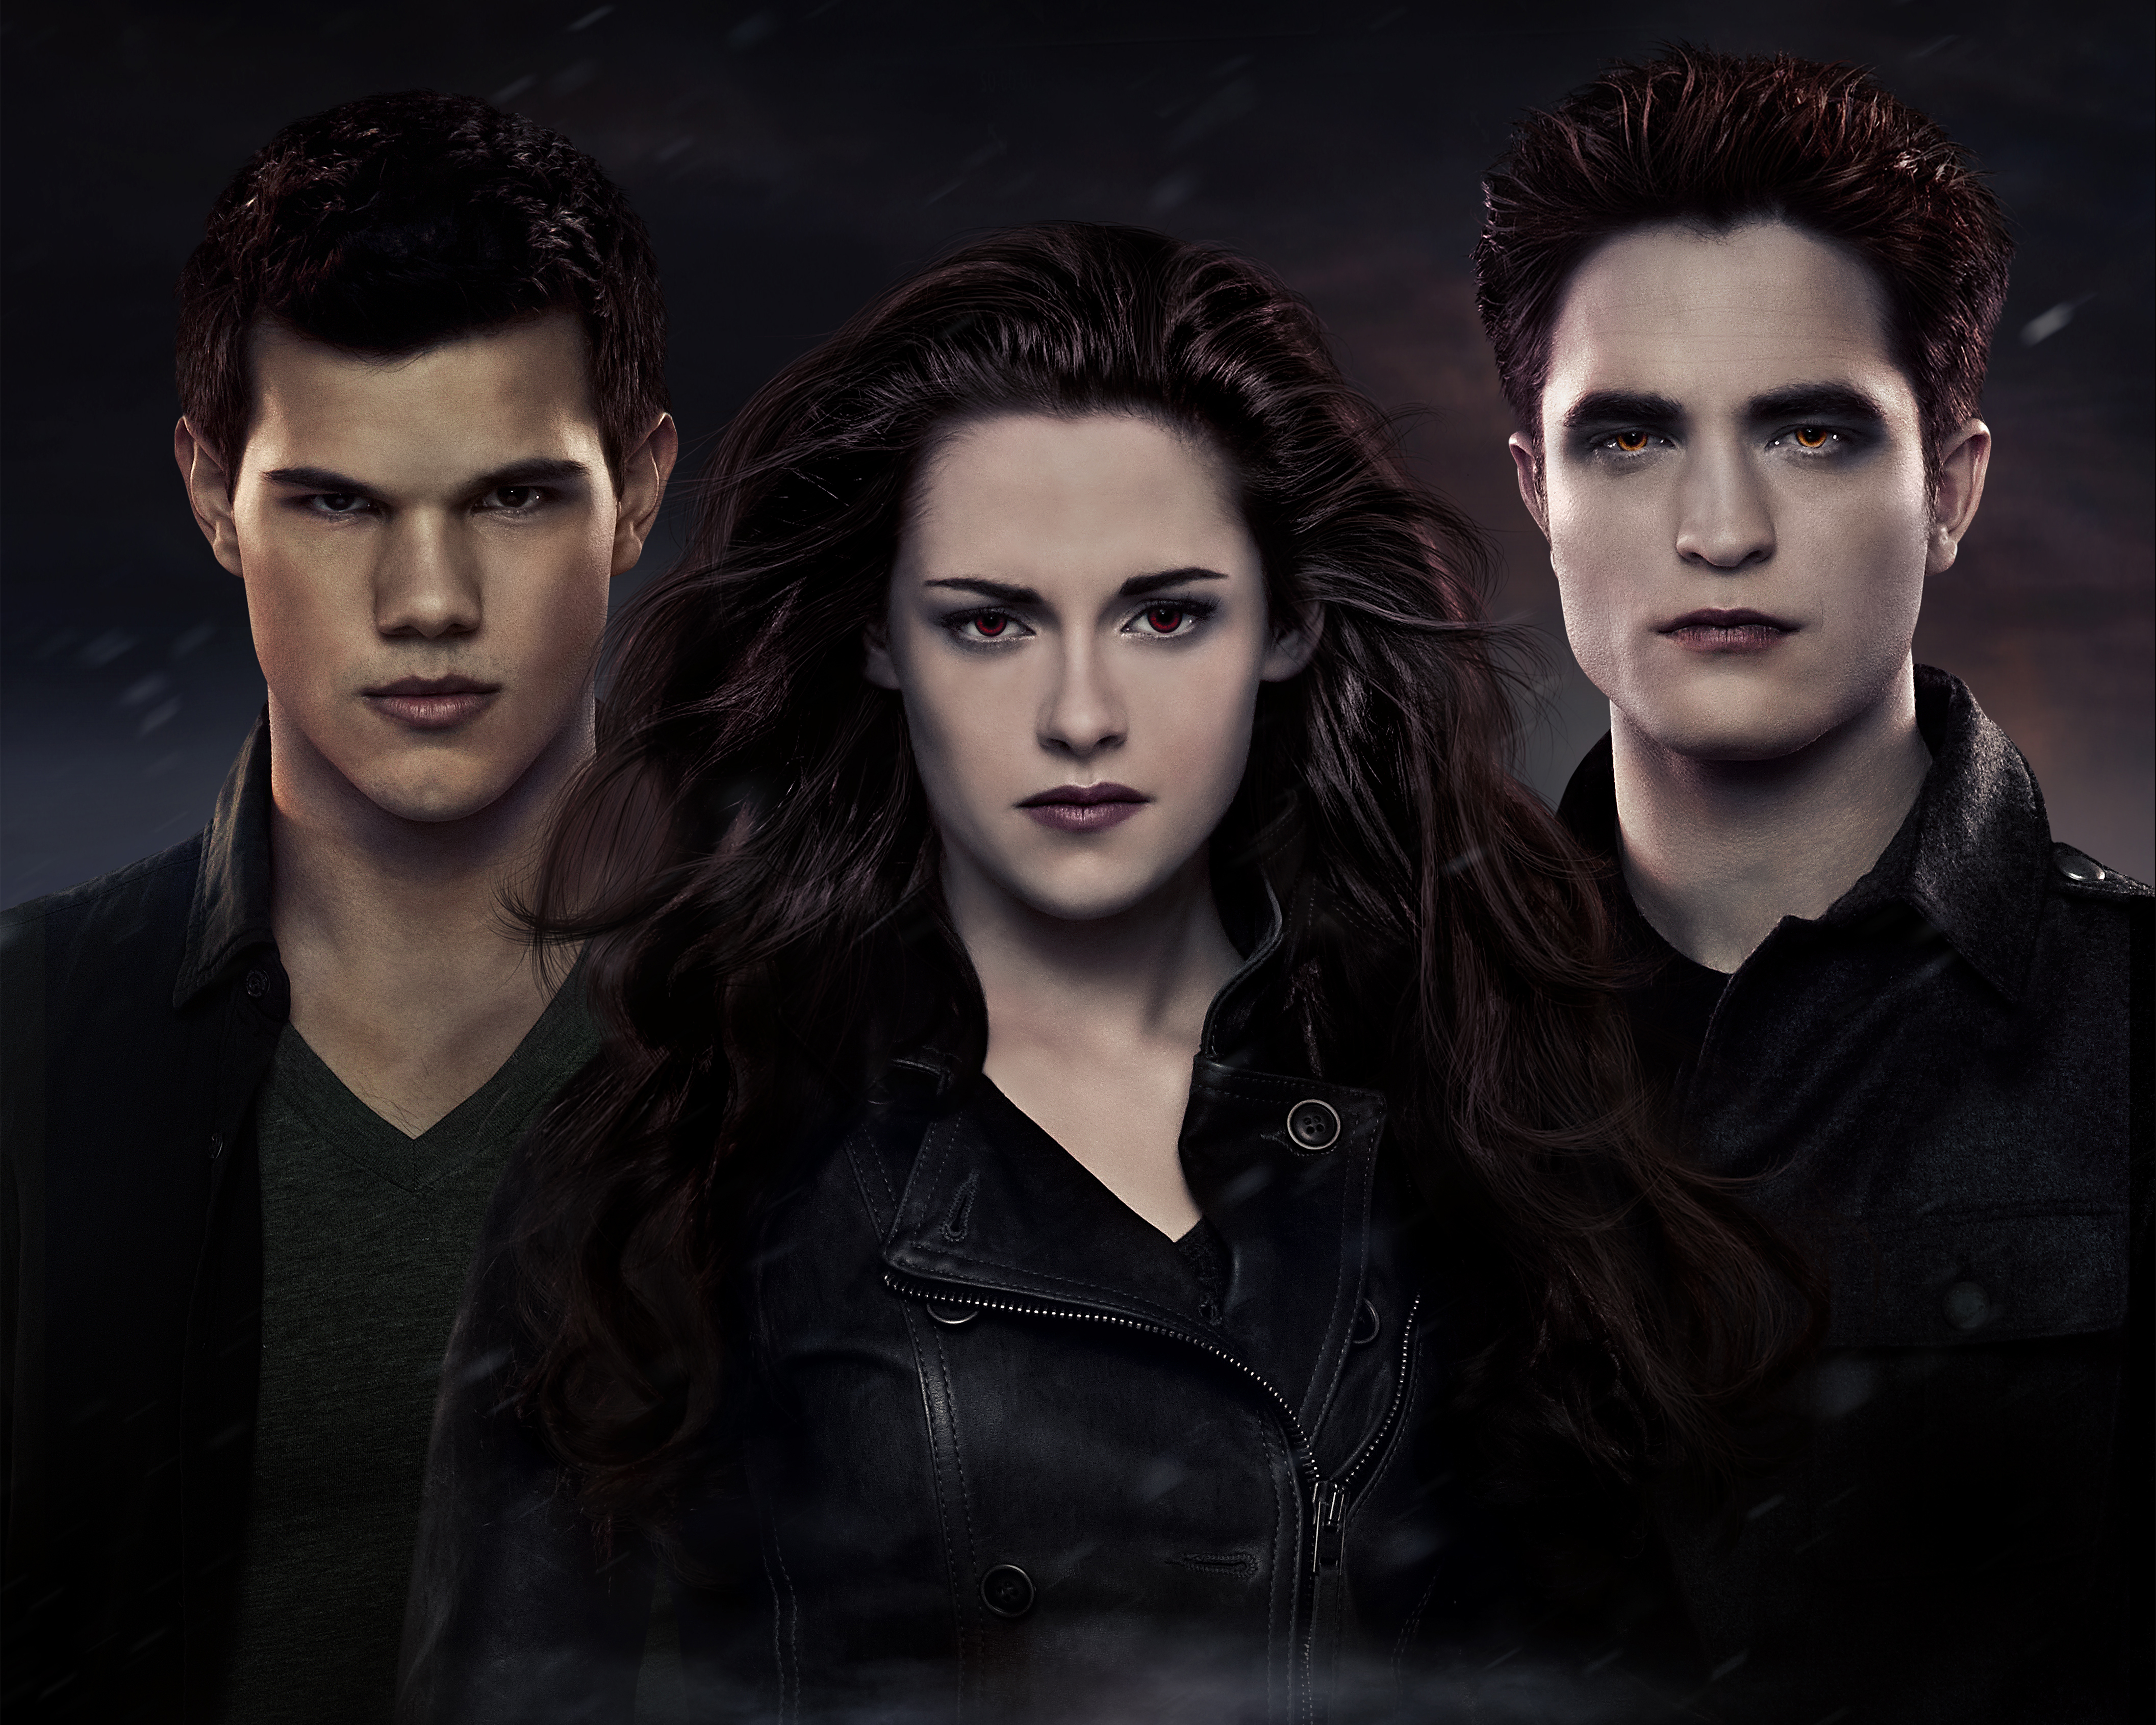
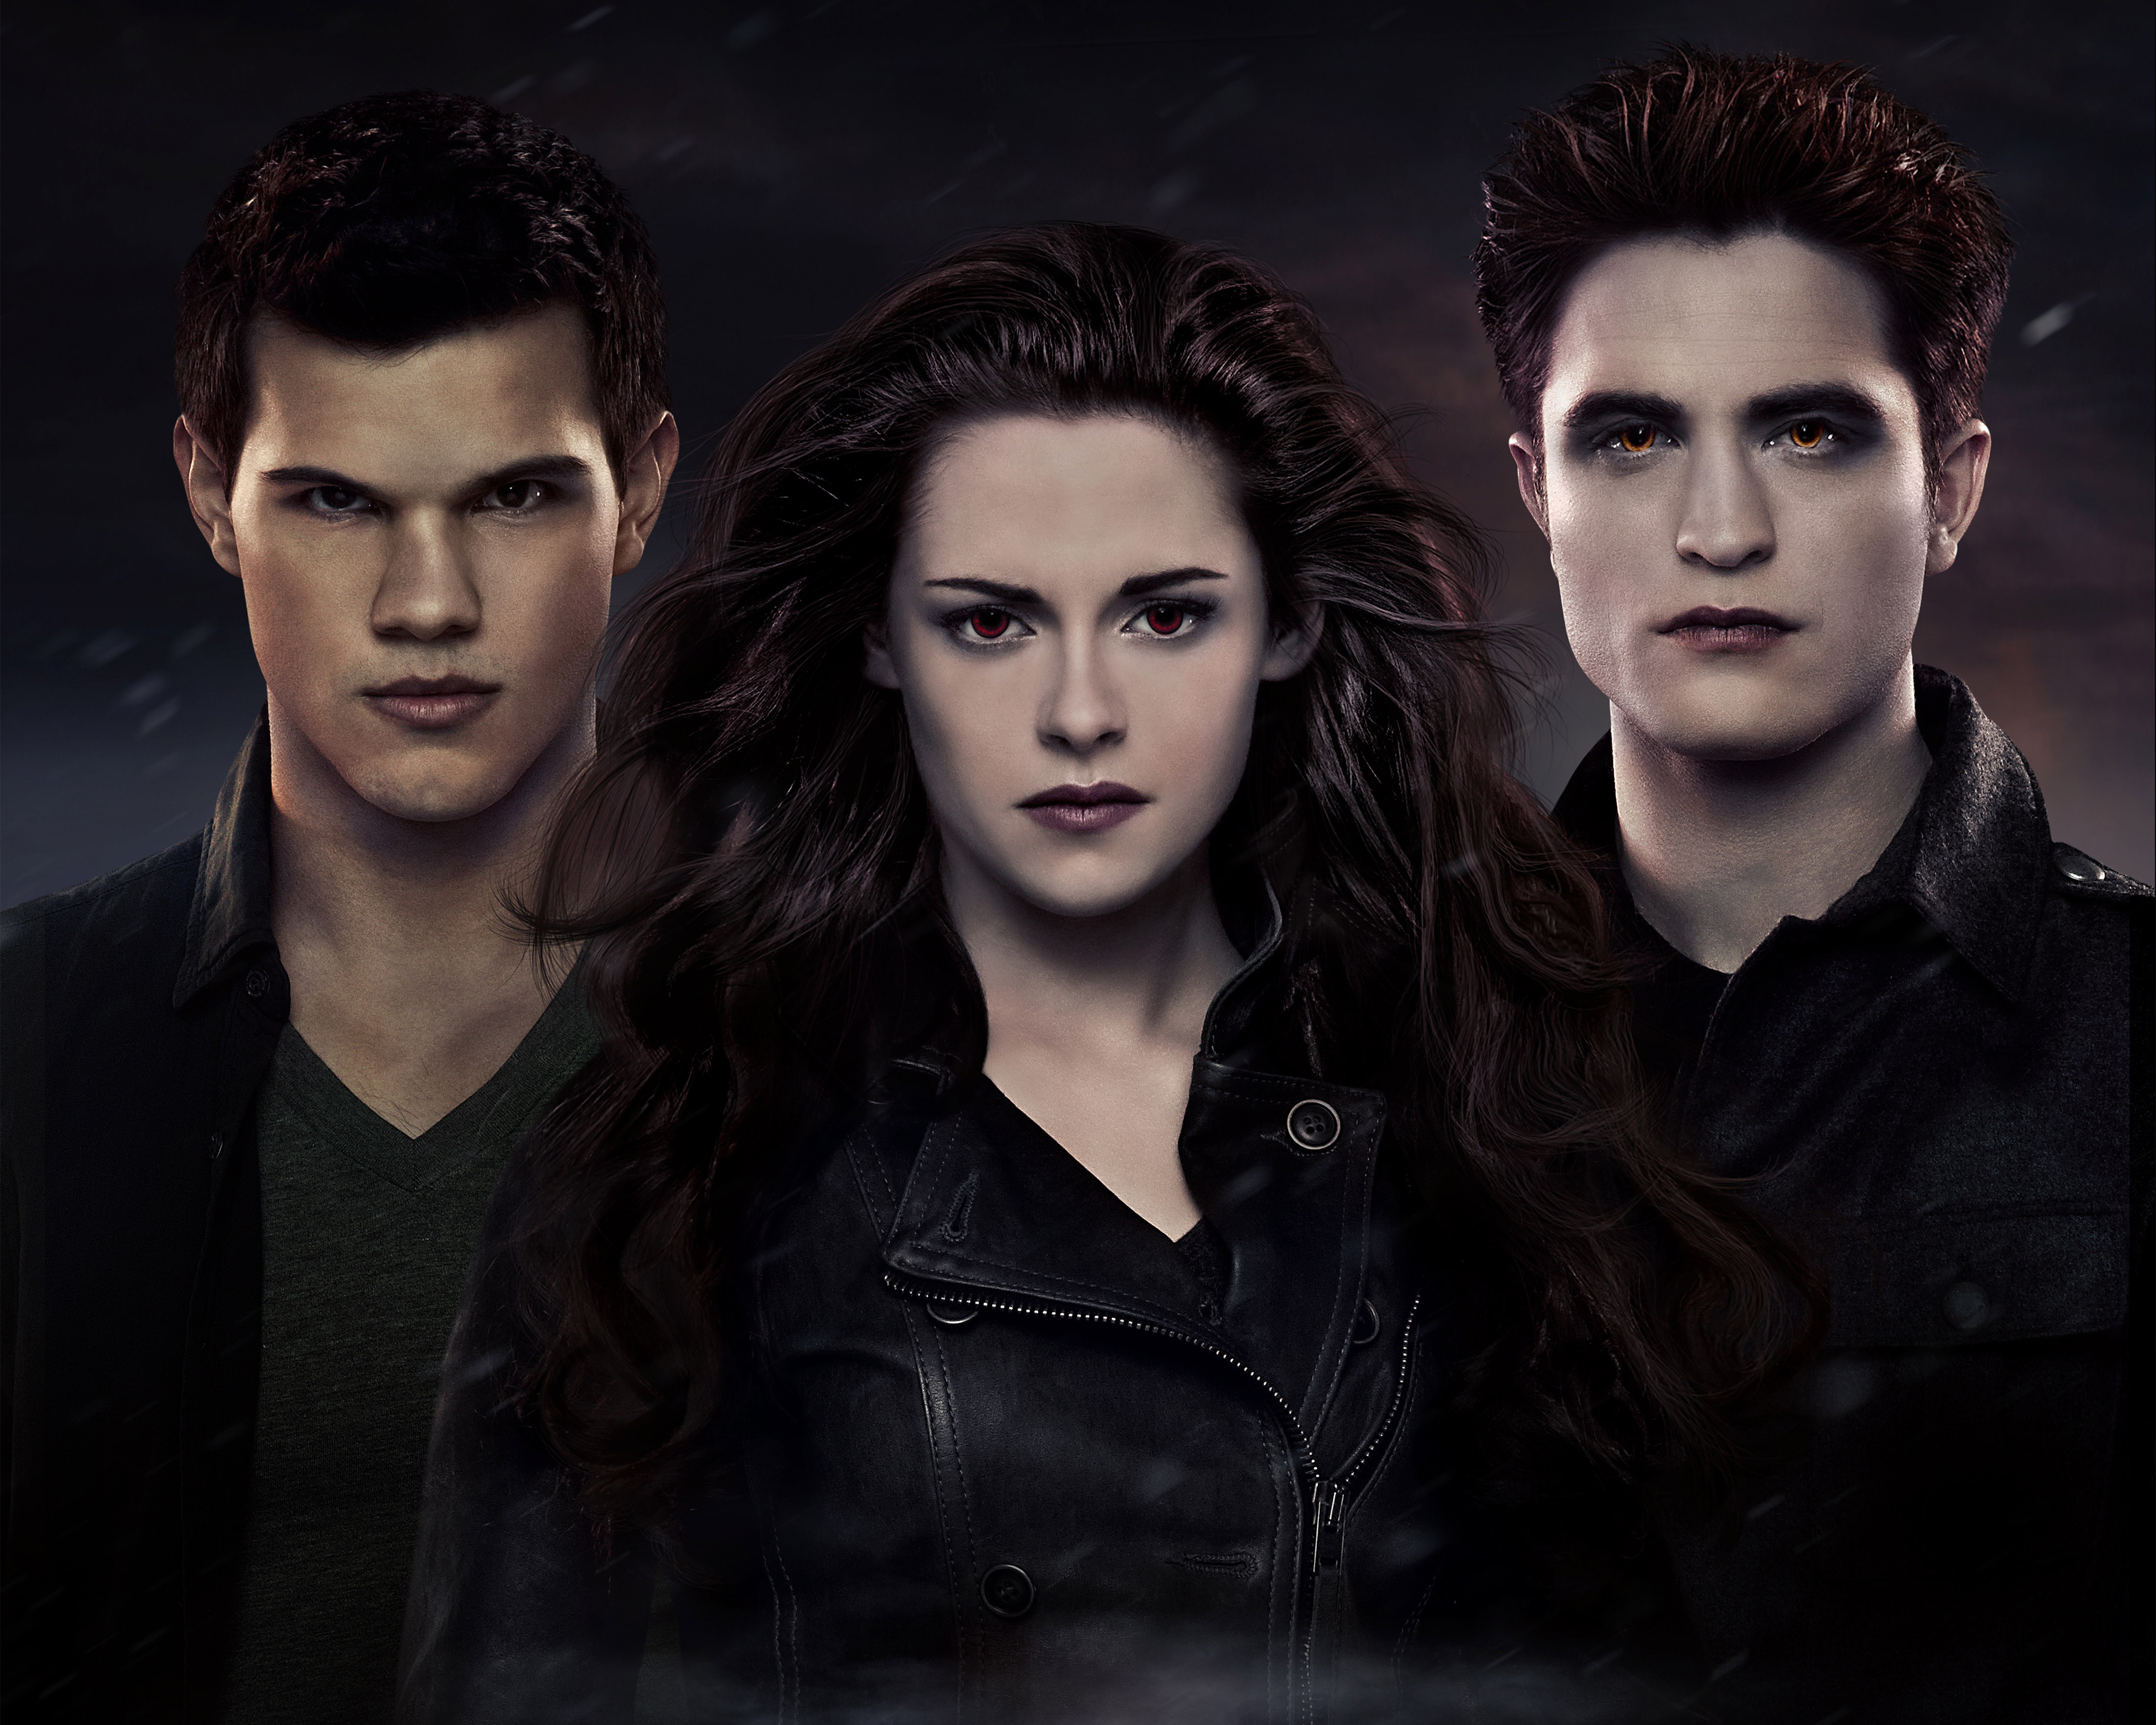
In order to warp objects in more detail, by adjusting their eye size, nose size, and other facial features, go to Filter > Liquify.
A menu comes up that allows you to adjust each aspect of their faces.
The toolbar on the left includes forward warp, twirl, bloat and pucker. These allow you to manipulate faces by hand by clicking and dragging certain areas.
The bloat tool makes areas larger, while the pucker tool makes them smaller.
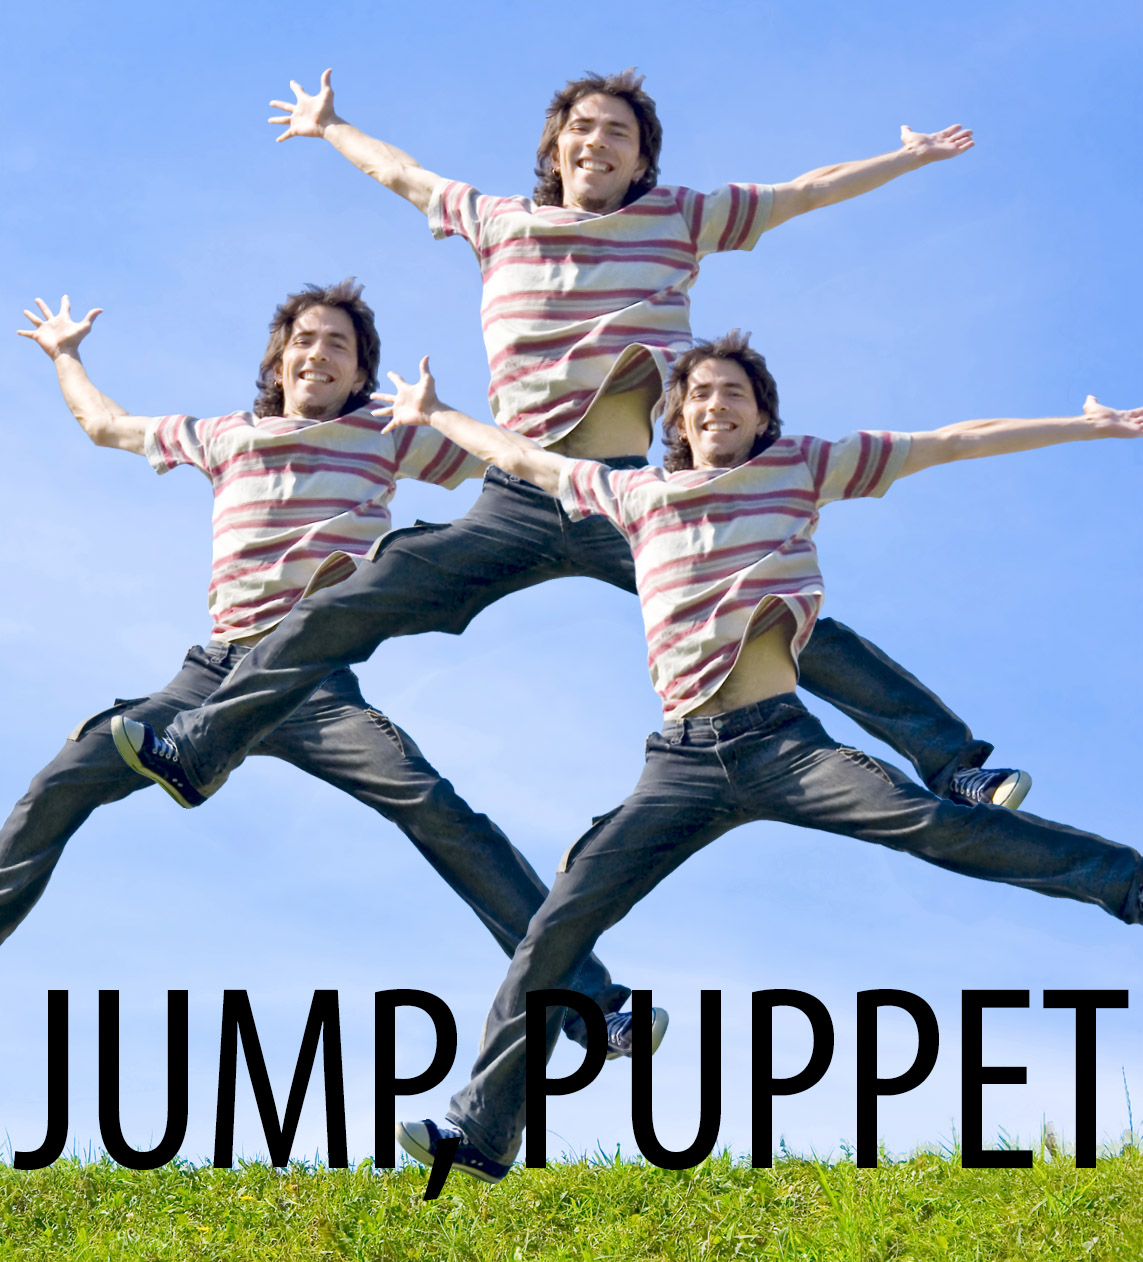
Select the image you want to warp and click edit > puppet warp. This allows you to place pins on different areas to distort them.
Remember, there has to be two or more pins placed in order for the puppet warping to occur. If you want to delete a pin you place, press option then click the pin to delete it.
It is ideal to place pins on joint areas, such as hands, elbows, knees, ankles, etc.
After the image is warped to perfect, press enter to confirm the puppet warp.
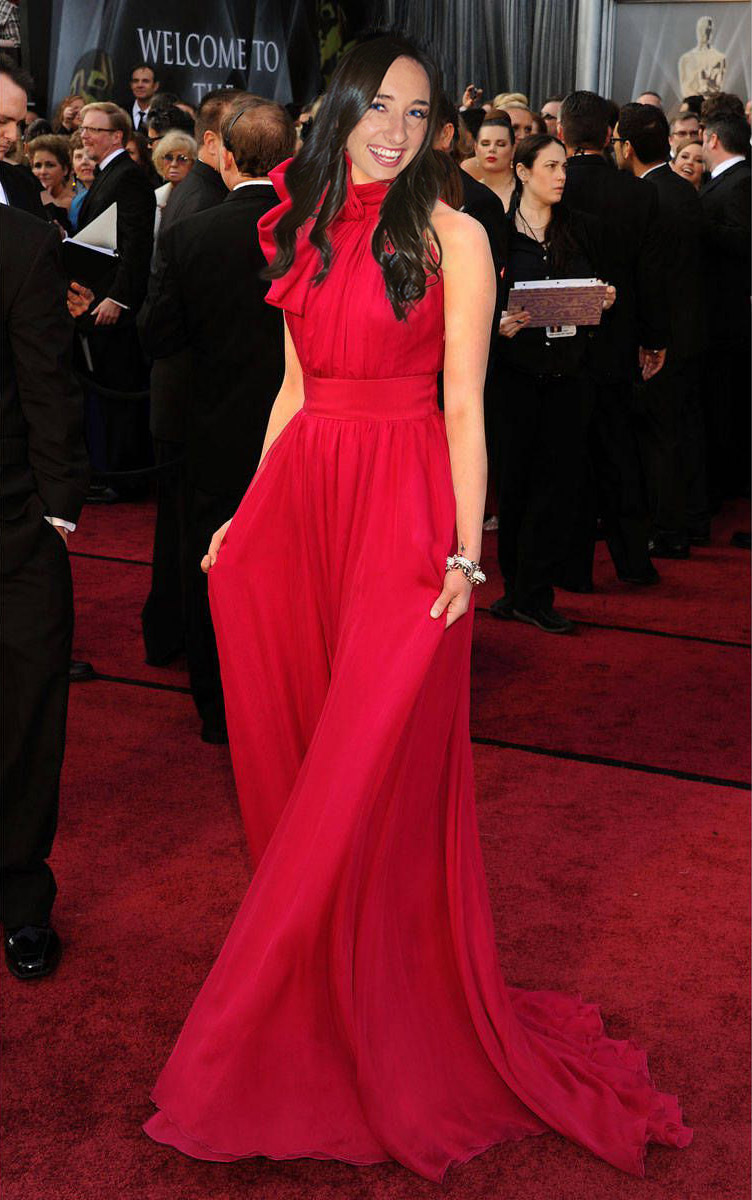
First, I found a picture of Emma Stone, where she was facing the same direction as the picture I had of myself.
Then, I created a clipping mask out of my head, and double clicked on the layer to refine it with the radius and smooth tools.
Then, I used the foreground (black) paintbrush when my clipping mask was selected, and “erased” the areas in between my hair and around my hair.
I made sure to rotate my head so that is looked natural on Emma Stone’s body.
I adjusted the color balance and highlights of my face and I used the burn tool to make Emma’s arms darker to match my face.
I added a very small drop shadow to my head to add the natural shadow under my hair and chin.
To erase the top part of Emma Stones head that was not covered by my head, I used the clone stamp tool to cover it with the curtains in the background.
I used the dodge tool to brighten my lips and I took the glare out of my eyes with the red eye tool. I then added some blue color to my eyes with the paintbrush tool.
Lastly, I used the spot healing brush tool to edit out some of the wrinkles in my face and some of the hair covering my face.
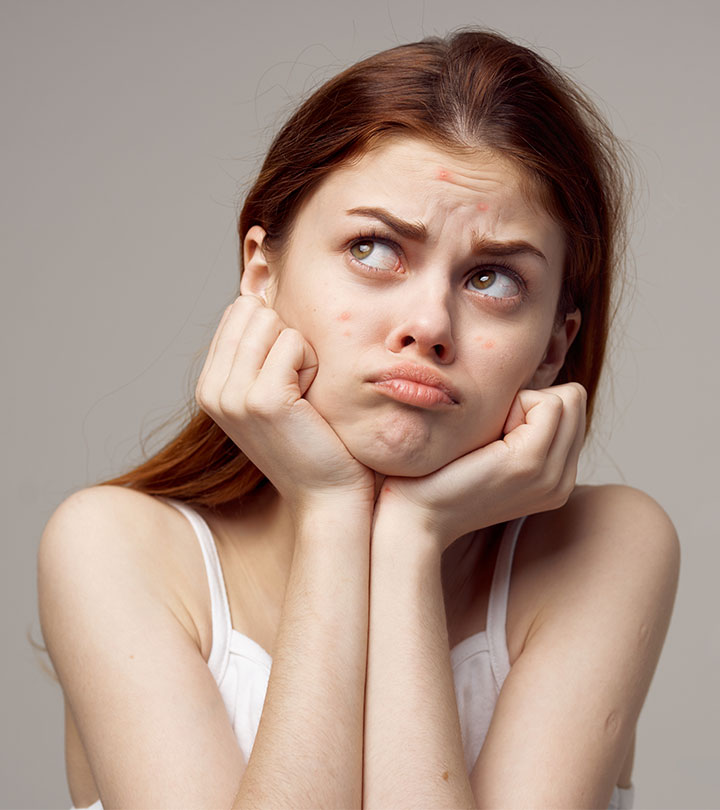
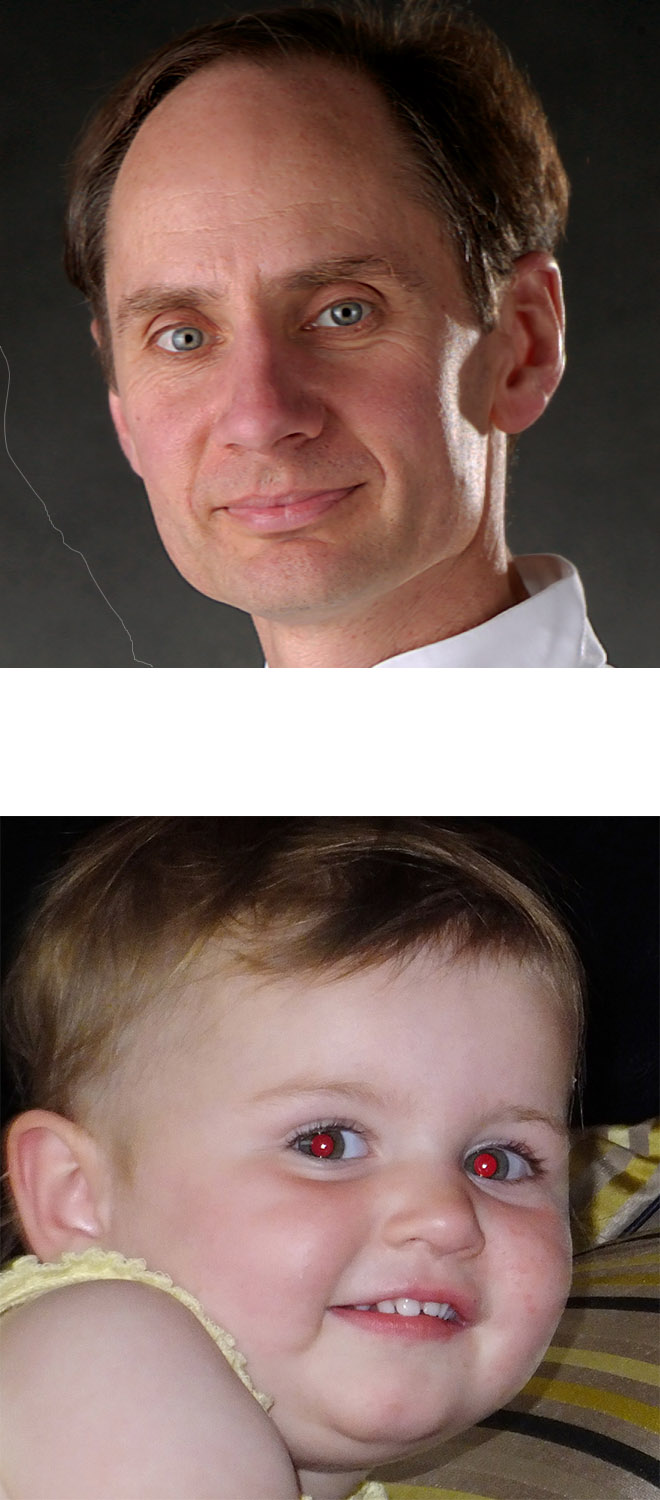
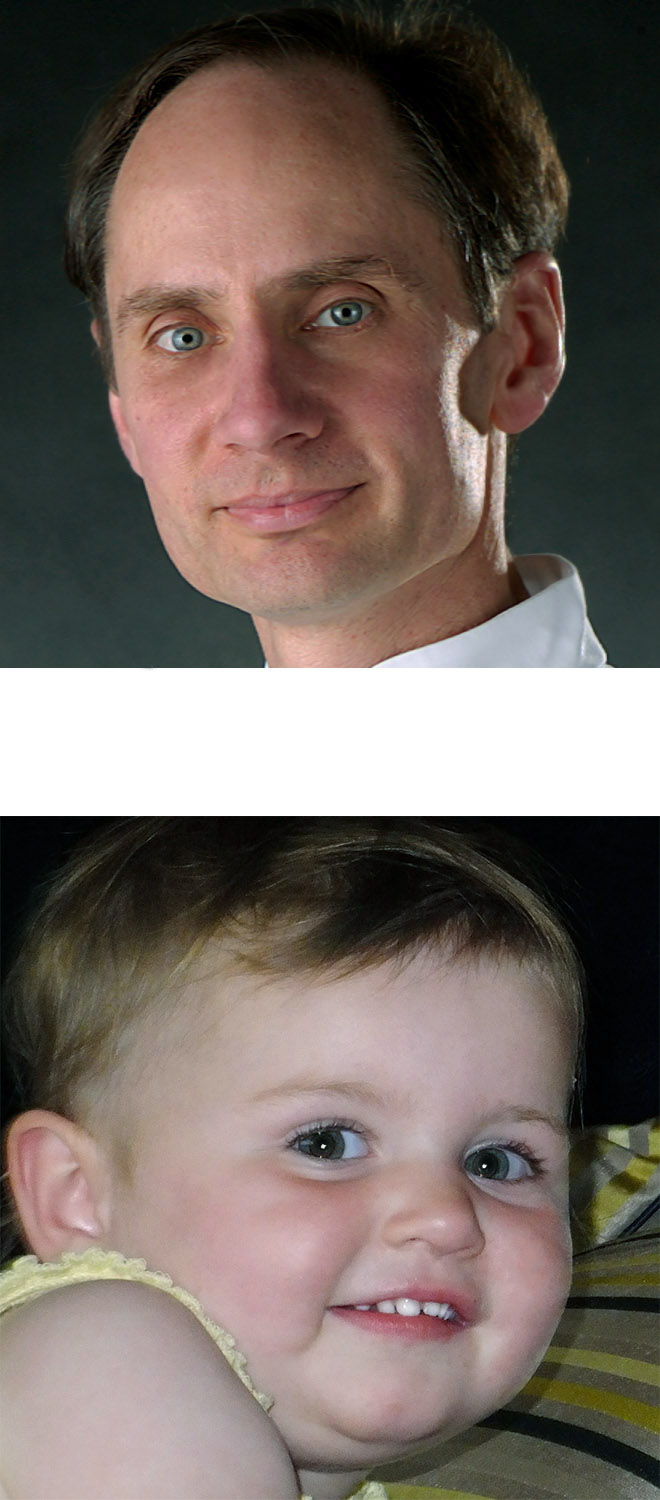
Spot Healing Brush Tool: Allows you to draw a direct line to move blemish, such as wrinkles in the man’s face.
Healing Brush Tool: Hold down the “option” key while selecting a new area to blend the blemished area with. Once the area is selected, then draw over the place you want to correct. I did this with the man’s wrinkles by his mouth.
Patch Tool: Allows you to draw an area that needs to be corrected. When you drag that area up or down, it blends with the area next to it. I did this with the man’s wrinkles under his eyes.
Clone Stamp Tool: Allows you to “option-drag” an area to load a selection of the image and replace a blemish with that new image. I did this to get rid of the wrinkle in the background of the man’s picture.
Dodge and Burn Tools: The dodge tool makes an image brighter and the burn tool makes an image darker. It works like a paintbrush to change the brightness of an image.
Red-Eye Tool: Drag the rectangular marquee around the red eye and use the red eye tool to click where the color needs to be adjusted. Then zoom in really big and add a few specs of color to the eye with the paintbrush tool to add color back into the image.
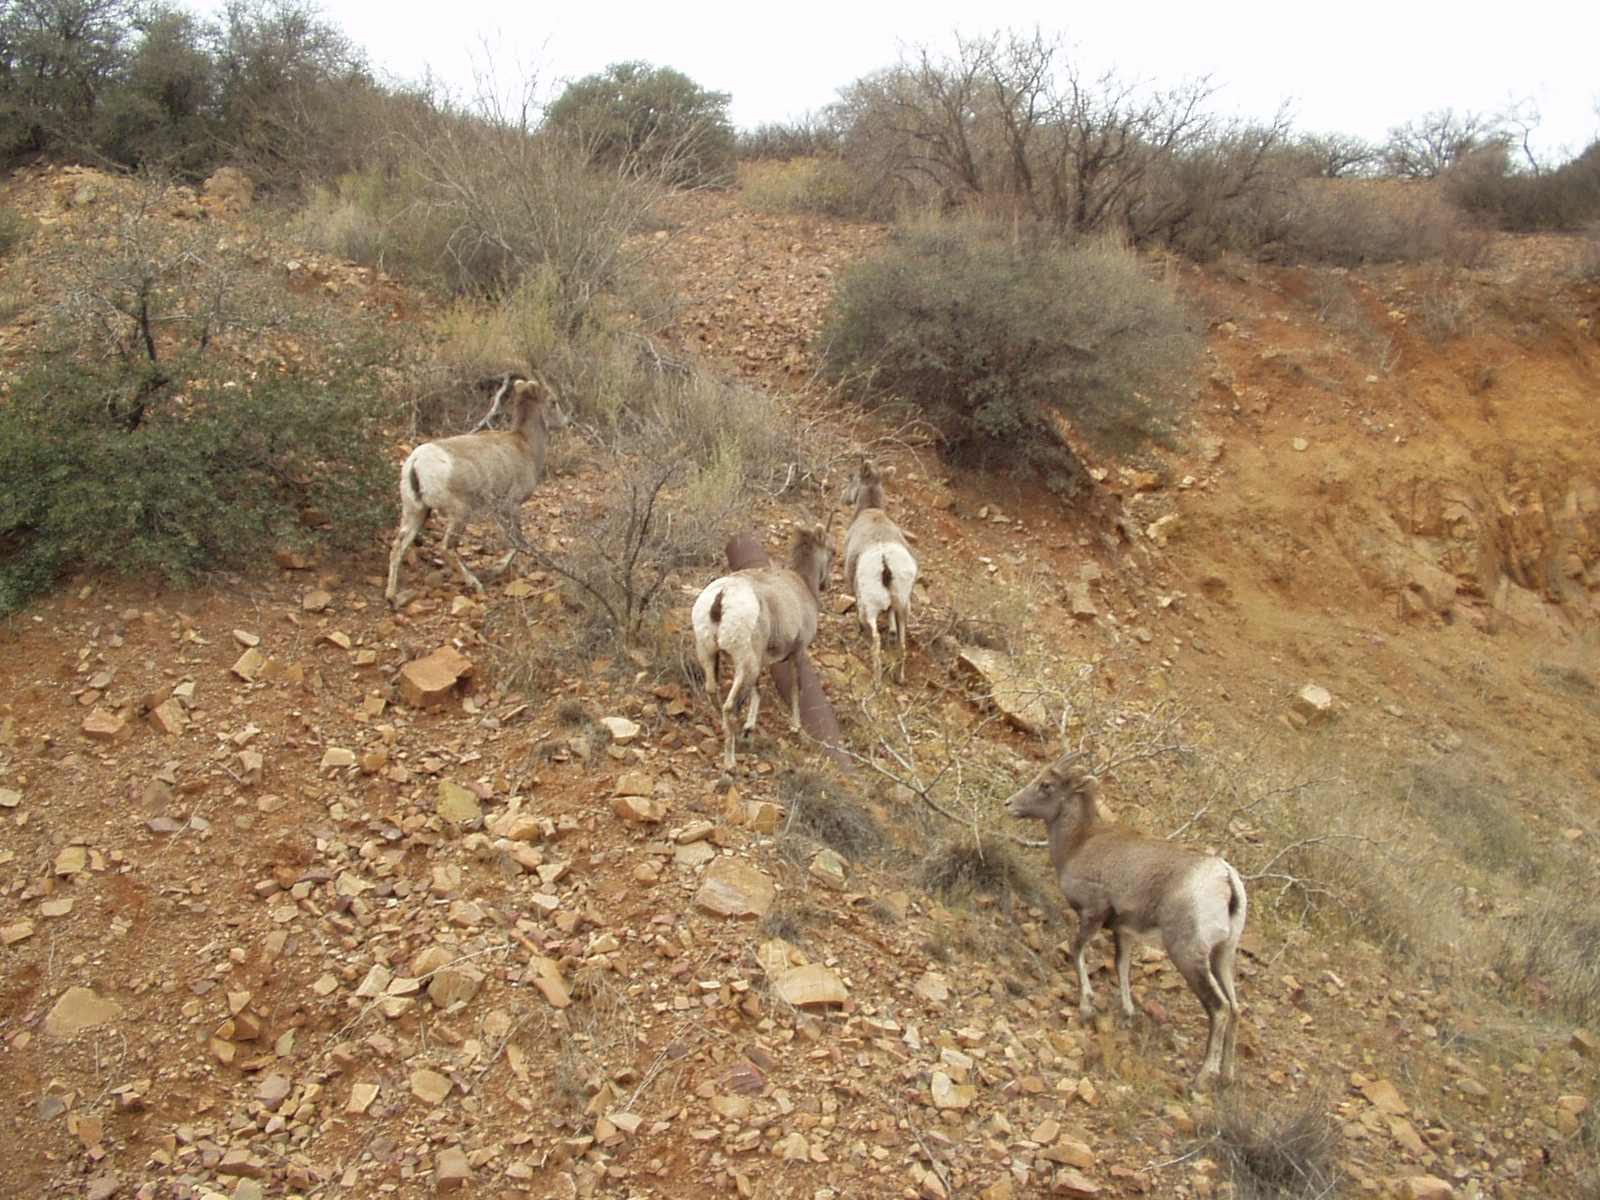
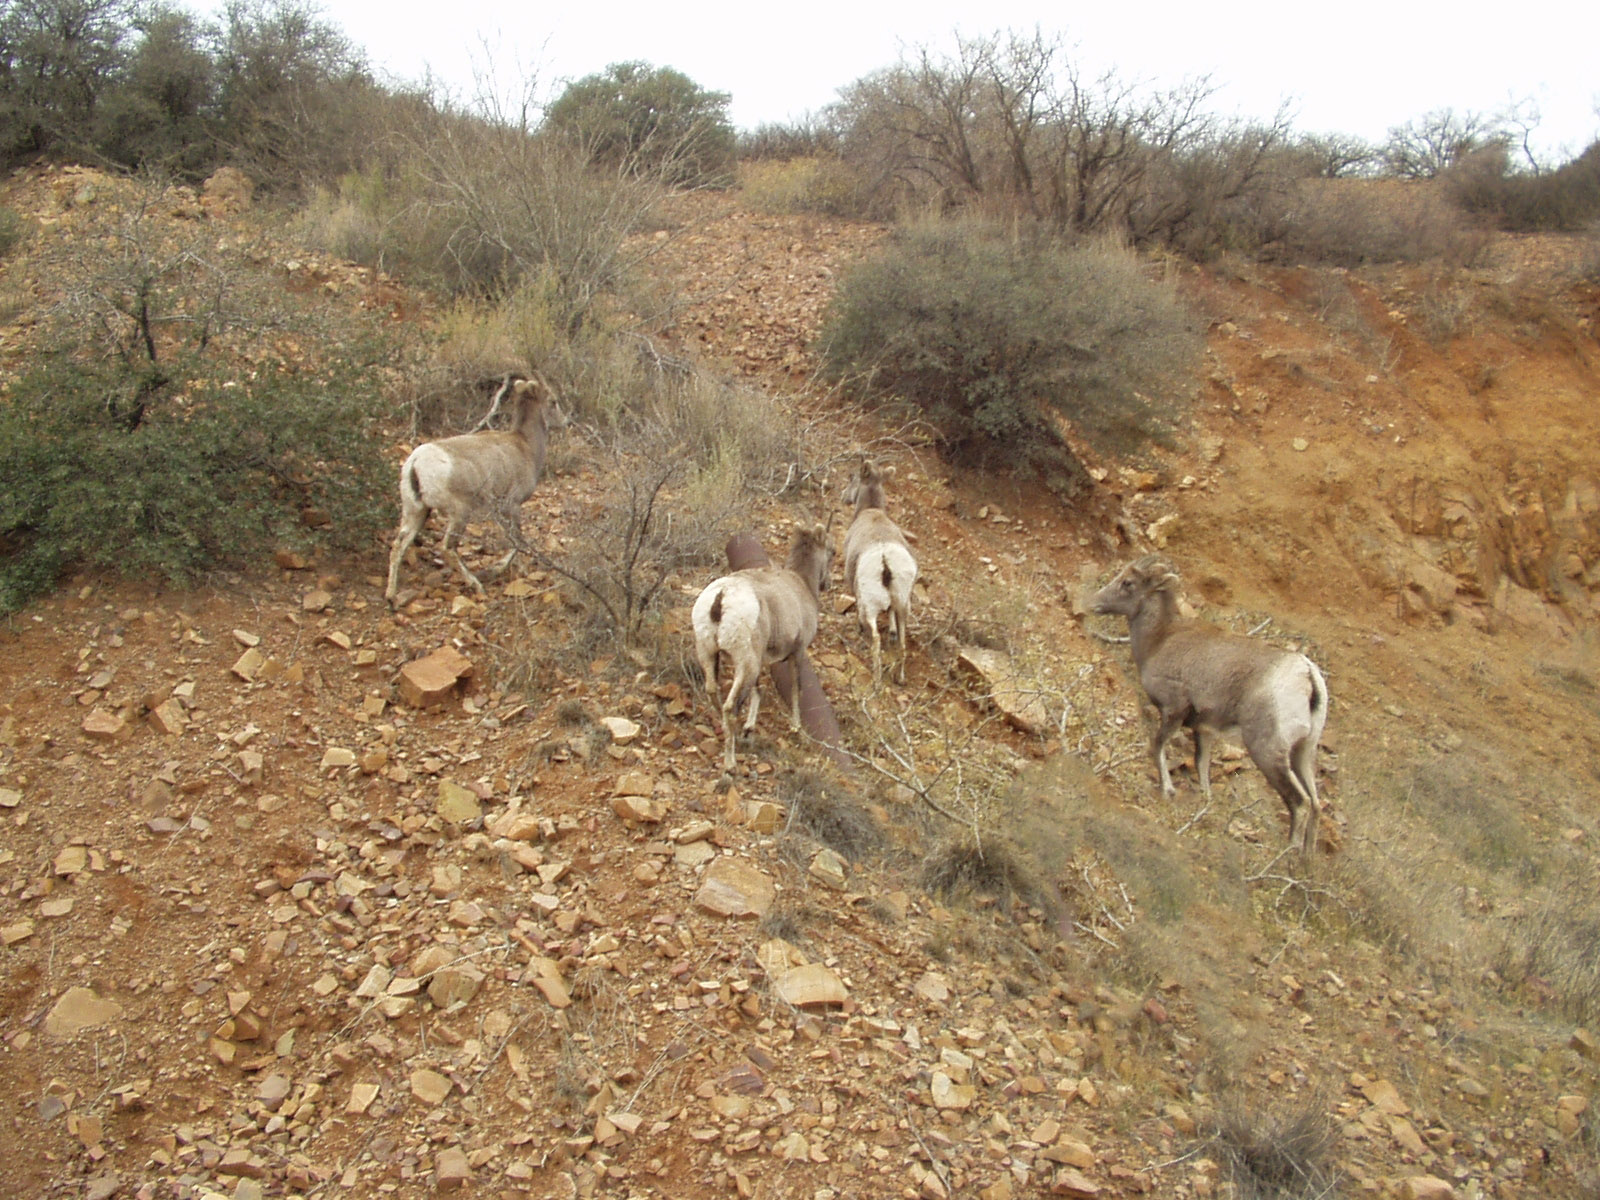
Content Aware Tool: Allows you to drag around an object (including some space around it) and move the object to a completely different area of the picture, making it look like the image was always there. I did this with the right-most goat in the bottom picture.
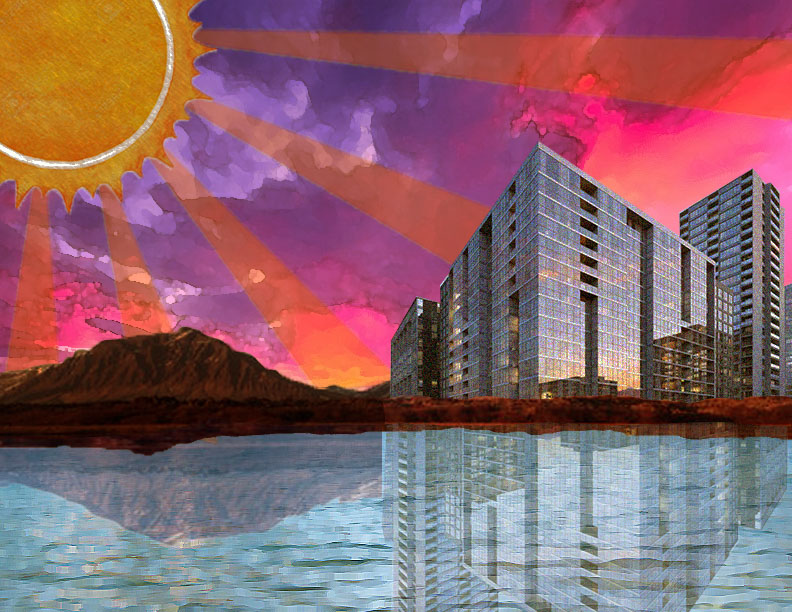
I created clipping masks for the mountains, the water, and the building so that I could adjust them individually and add other images being them.
Since the water was originally very dark, I adjusted it to be lighter using the “brightness/contrast tool” and the “levels” tool. I also used the “color balance” to adjust the sun to make it darker and more organs
I had to copy and paste half of the mountains to place them over the buildings to make it appear like the buildings actually belonged in the mountains.
To create the reflections in the water, I copy & pasted them, rotated them, and changed the opacity.
Each image in this scene has a filter applied from the filter gallery, such as smudge stick, sponge, and dry brush.
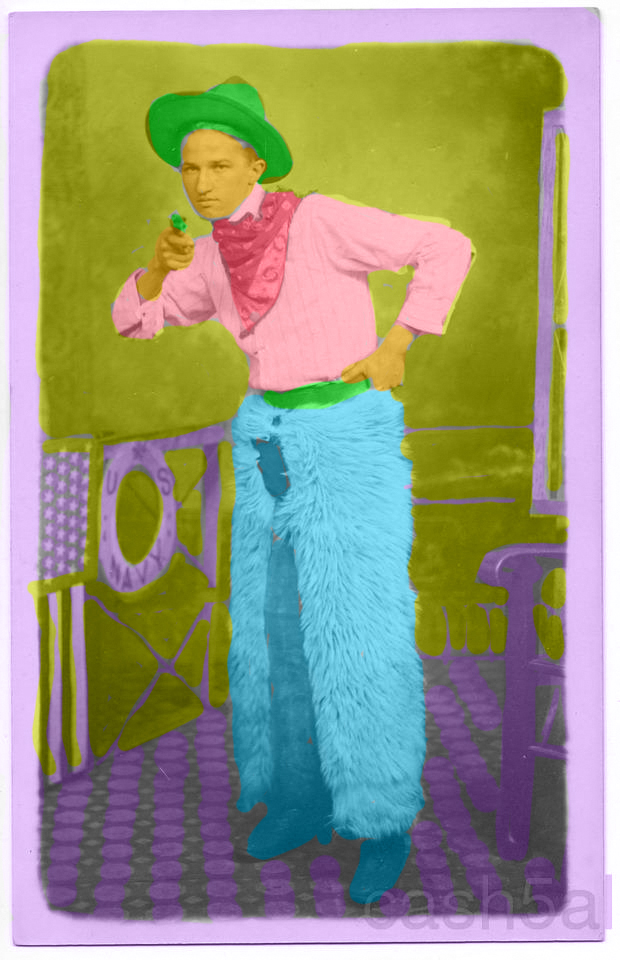
In order to be able to pain on the layer and not have the color go directly over the image, you have to manipulate the layers tool.
In the drop down menu where it currently says “normal,” select “color.” Now the colors will be opaque and you can still see the image of the cowboy underneath.