Magazine Layout with InDesign
- Page Set up 8.5 x 11 with .25 margins.
- Add a horizontal guide (from rulers) 1 inch from the top by dragging down from the rule on the top and on the left.
- Add outer lines along margin guides with the line tool by dragging and copying & pasting.
- Add bottom blue bar that bleeds off the edges of the paper. Important to make it bleed for printing purposes.
- Adding images file place resize using bounding box or go to object fitting. “Command – Shift” is used to make the whole image bigger, not just the bounding box. “Command – Shift – Option” allows you to drag the object to make it larger from the middle, not the corners. A helpful tool to fit the image to the bounding box is “Fitting – Fit Content Proportionally.”
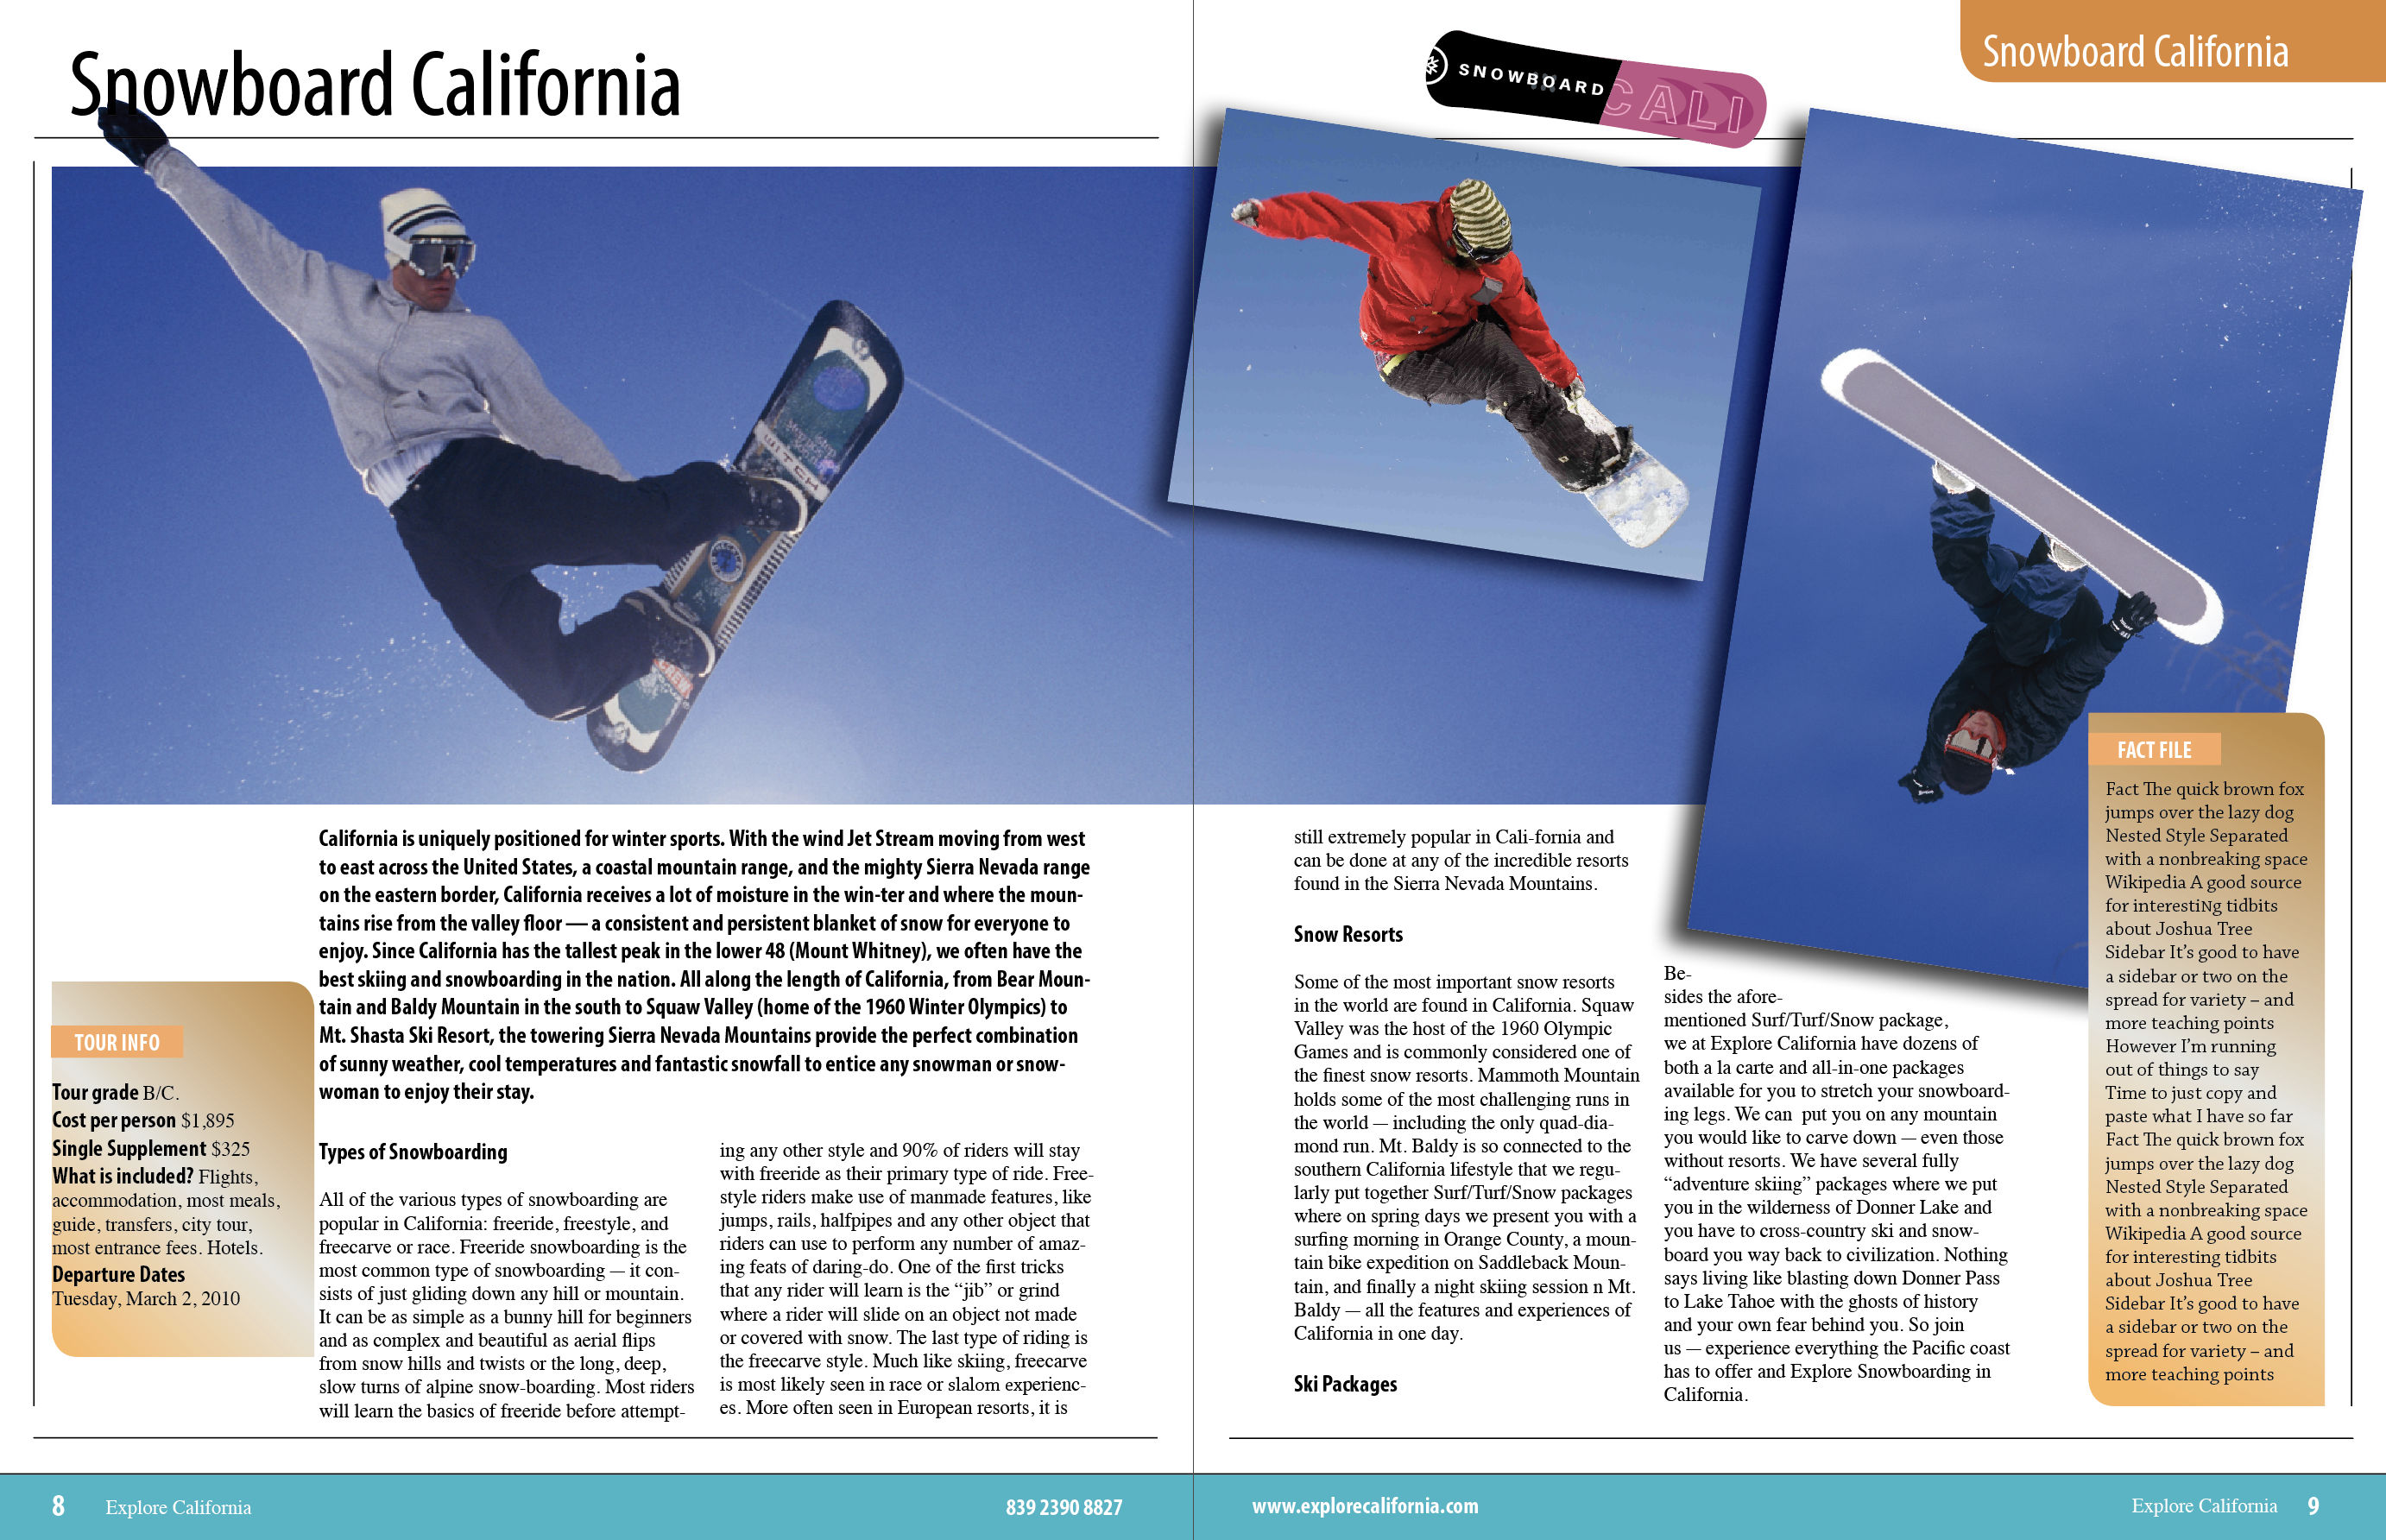
- Add Large image – file / place 0830029. The keyboard command to place an image is Command D.”
- We want to have just the hand outlined so we are going to use 2 images on top of one another. Copy the image. Select the image on which I have already made a clipping path in photoshop. Object/ clipping path / options / photoshop clipping path. It is now outlined. Now paste the original image exactly on top edit / place in place. Take the top image and pull down the top bounding box so the hand is outlines then up on the bottom. Marque the 2 images, object / group. Then deselect
- Add red man 43_2527521
- Resize, tile and add drop shadow. 50% and move the shadow angle, but going to “Object – Effects – Drop Shadow.”
- Add blue man 0830027
- Resize, tile and add drop shadow. I placed this image by using the rectangle frame tool and clicking within it with the photo loaded
- Make 3 character style sheets by going to “Window Styles – Create New.” If a row of text is highlighted, it will automatically form a new style. You can also do this manually when creating a new style by doubling clicking on “Character Style 1” and choosing options in the menu.
- Headline – Myrad Pro Condensed 48 pt.
- Subhead – Myrad Pro Condensed Bold 12 pt.
- Body – Times 10 pt…Add columns to the text by using the columns arrows in the top tool bar.
- Sidebars: created with rectangular boxes
- Gradients: a gradient was added with the gradient panel and a new swatch the we created in the swatch panel.
- Rounded edges – “Object – Corner Options.”
- Add type using character styles. Just highlight type and click on the character type you created before.
- Text Wrap, under blue man there is a text wrap. Then you need to not have the text wrap on the fact file in sidebar object / text frame options / ignore text wrap.
