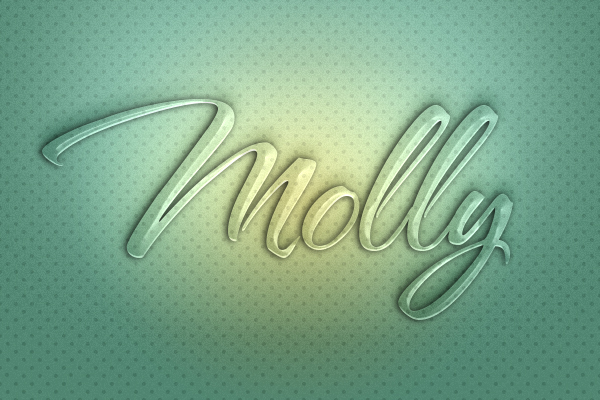
Type Tutorial for Photoshop
Website: http://designrfix.com/resources/text-effect
- Create a new photoshop document — the first effects will be added to the background layer.
- Menu > Layer > Layer > Layer Style > Blending Options
- Within this menu, I manipulated the blend modes, angles, opacities, etc. of the Inner Shadow, Inner Glow, Gradient Overlay, Pattern Overlay.
- I downloaded the font “Nautigal” from DaFont and added it into Photoshop by going to the Font Book application and clicking “add font” in the menu bar. Then I typed my name in the middle of the page.
- Once on the text layer, go to Menu > Layer > Layer Style > Blending Options.
- I adjusted the settings for General Blending, Drop Shadow, and Bevel and Emboss to take the color out from within, create a nice white highlight to the letters, and add a shadow around the letter so the word kept its form.
- To further customize this text and make it appear as though it is sitting in the paper, I duplicated the text layer and added adjustments directly on top of the first text layer.
- I cleared the layer style in the duplicate layer by going to Menu > Layer Style > Clear Layer.
- Then, I added adjustments to the type by using the general blending, inner shadow, and bevel and emboss tools to get the darker outside of the letters.
- Lastly, I adjusted the drop shadow and stroke to get the final product!