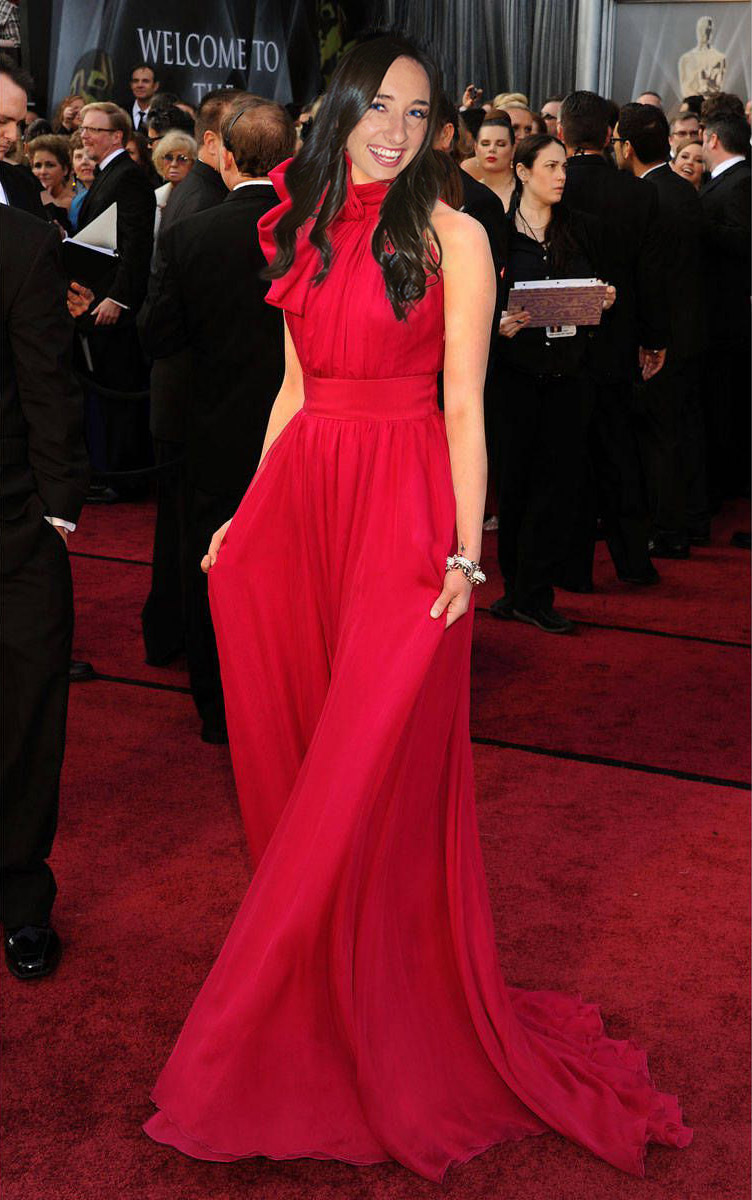
First, I found a picture of Emma Stone, where she was facing the same direction as the picture I had of myself.
Then, I created a clipping mask out of my head, and double clicked on the layer to refine it with the radius and smooth tools.
Then, I used the foreground (black) paintbrush when my clipping mask was selected, and “erased” the areas in between my hair and around my hair.
I made sure to rotate my head so that is looked natural on Emma Stone’s body.
I adjusted the color balance and highlights of my face and I used the burn tool to make Emma’s arms darker to match my face.
I added a very small drop shadow to my head to add the natural shadow under my hair and chin.
To erase the top part of Emma Stones head that was not covered by my head, I used the clone stamp tool to cover it with the curtains in the background.
I used the dodge tool to brighten my lips and I took the glare out of my eyes with the red eye tool. I then added some blue color to my eyes with the paintbrush tool.
Lastly, I used the spot healing brush tool to edit out some of the wrinkles in my face and some of the hair covering my face.