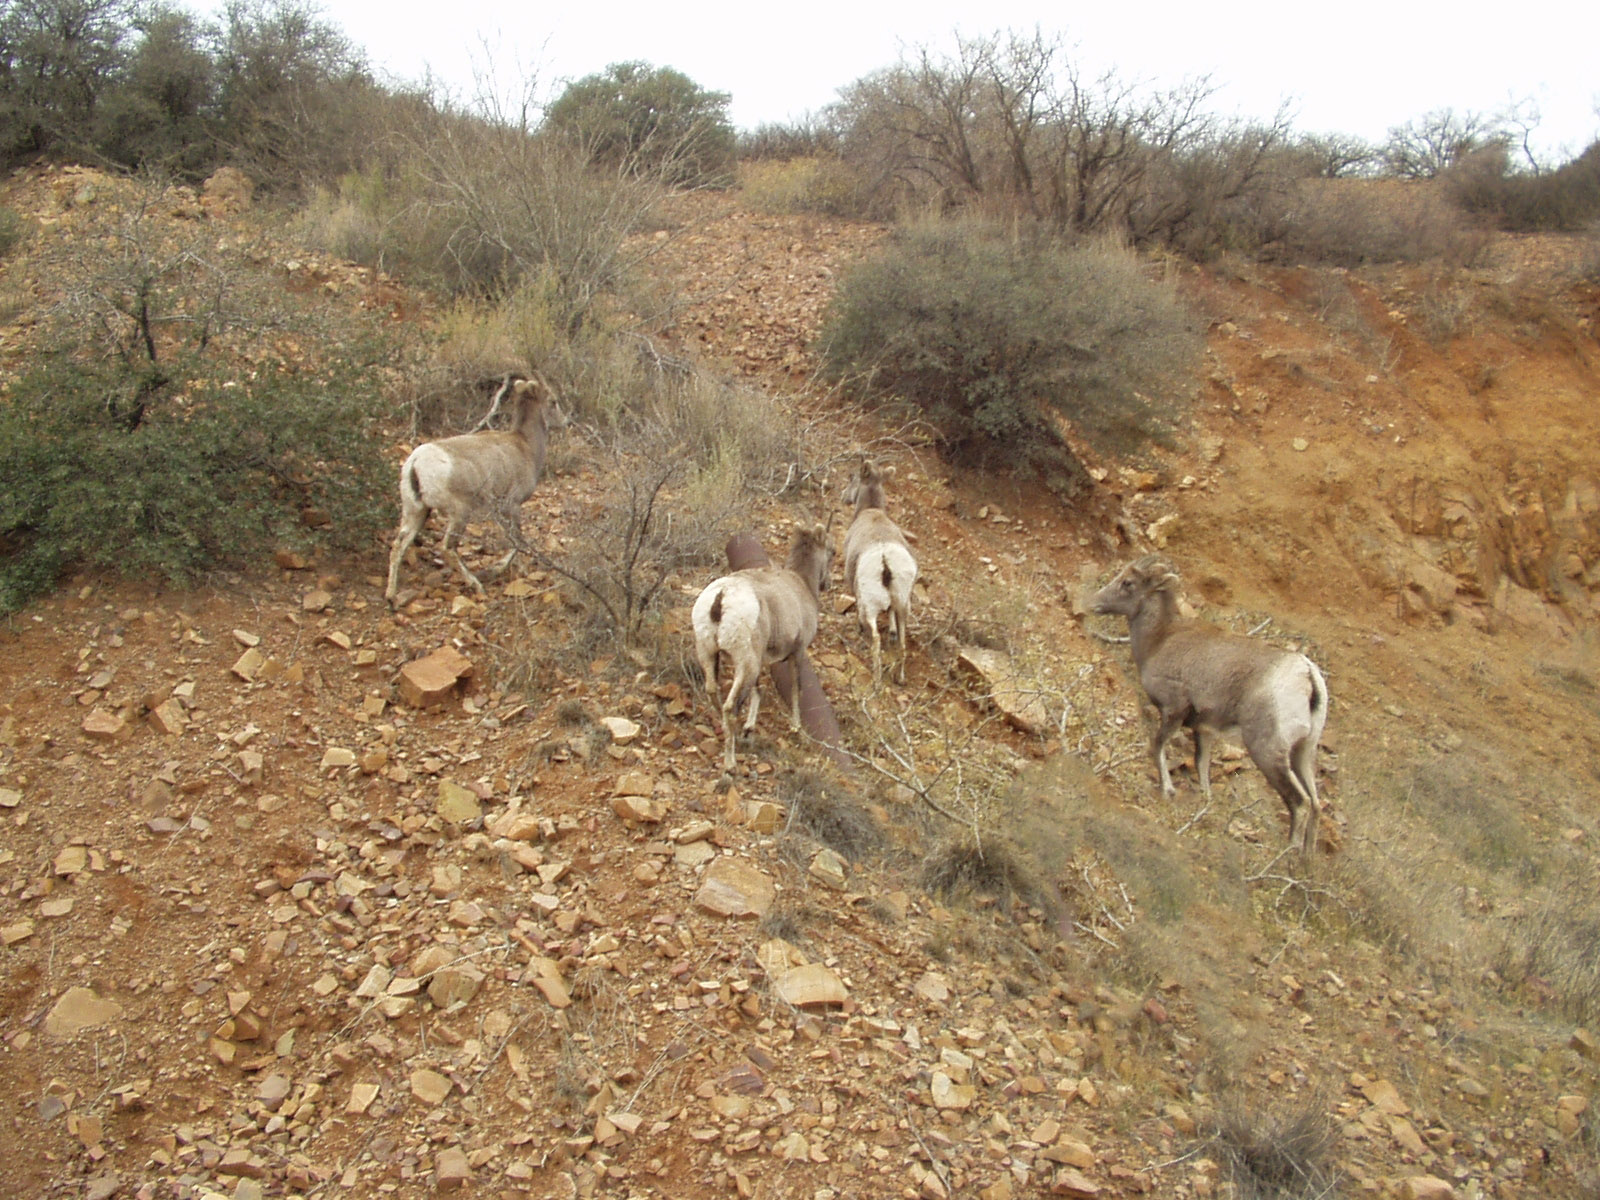
Before:

After:

Before:
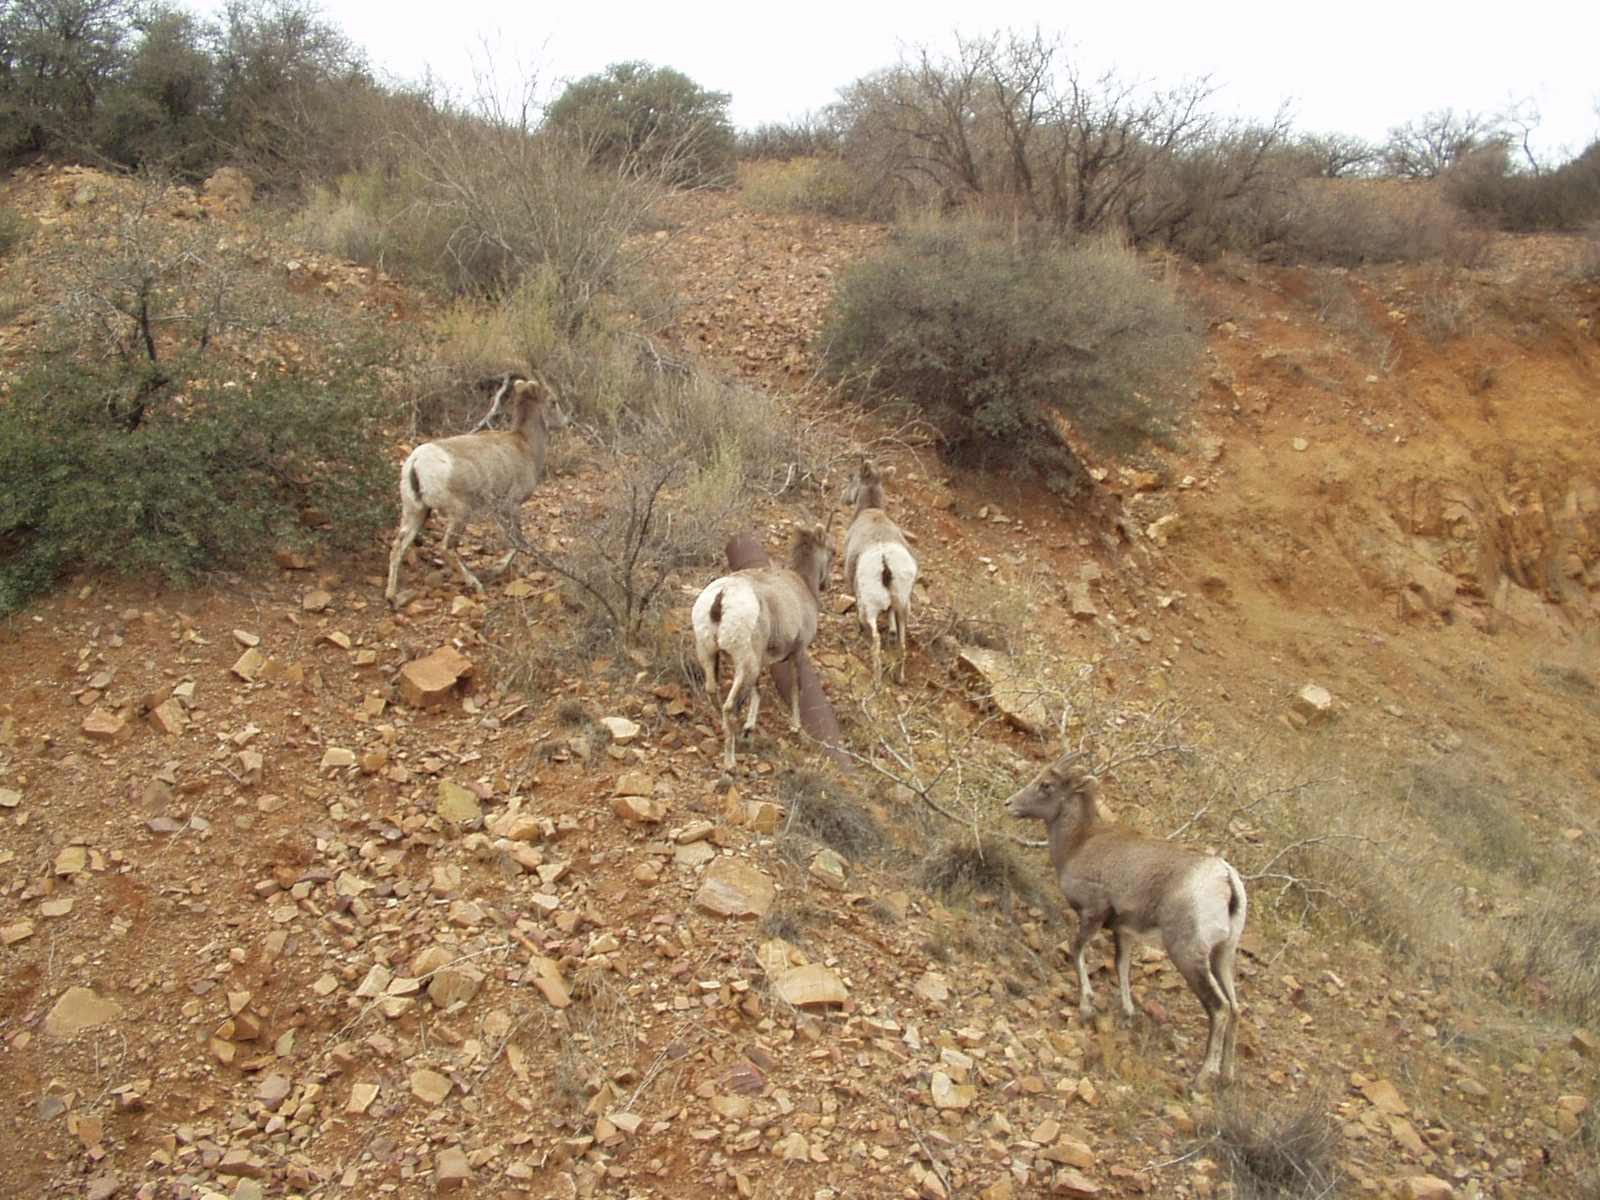
After:
Touch Up Tools on Photoshop
- Spot Healing Brush Tool: Allows you to draw a direct line to move blemish, such as wrinkles in the man’s face.
- Healing Brush Tool: Hold down the “option” key while selecting a new area to blend the blemished area with. Once the area is selected, then draw over the place you want to correct. I did this with the man’s wrinkles by his mouth.
- Patch Tool: Allows you to draw an area that needs to be corrected. When you drag that area up or down, it blends with the area next to it. I did this with the man’s wrinkles under his eyes.
- Clone Stamp Tool: Allows you to “option-drag” an area to load a selection of the image and replace a blemish with that new image. I did this to get rid of the wrinkle in the background of the man’s picture.
- Dodge and Burn Tools: The dodge tool makes an image brighter and the burn tool makes an image darker. It works like a paintbrush to change the brightness of an image.
- Red-Eye Tool: Drag the rectangular marquee around the red eye and use the red eye tool to click where the color needs to be adjusted. Then zoom in really big and add a few specs of color to the eye with the paintbrush tool to add color back into the image.
- Content Aware Tool: Allows you to drag around an object (including some space around it) and move the object to a completely different area of the picture, making it look like the image was always there. I did this with the right-most goat in the bottom picture.
