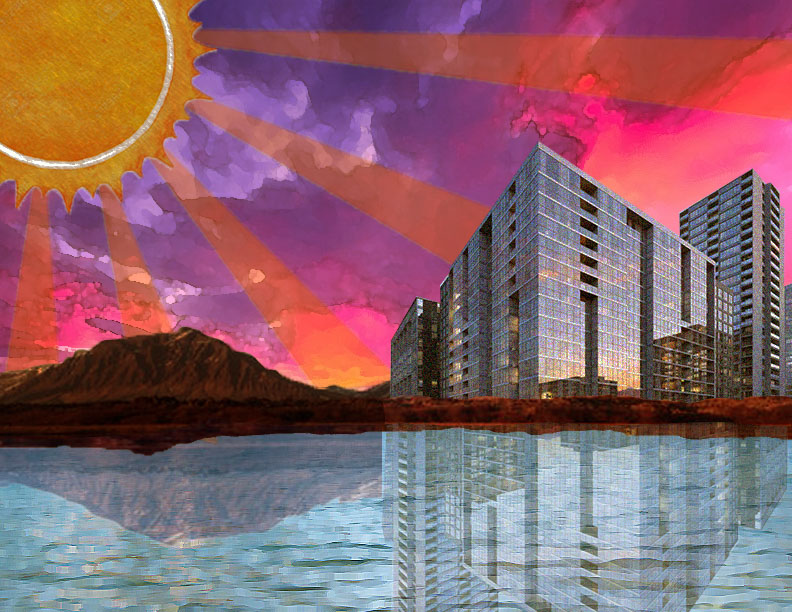
I created clipping masks for the mountains, the water, and the building so that I could adjust them individually and add other images being them.
Since the water was originally very dark, I adjusted it to be lighter using the “brightness/contrast tool” and the “levels” tool. I also used the “color balance” to adjust the sun to make it darker and more organs
I had to copy and paste half of the mountains to place them over the buildings to make it appear like the buildings actually belonged in the mountains.
To create the reflections in the water, I copy & pasted them, rotated them, and changed the opacity.
Each image in this scene has a filter applied from the filter gallery, such as smudge stick, sponge, and dry brush.