Direct Selection and Mask Tools in Photoshop
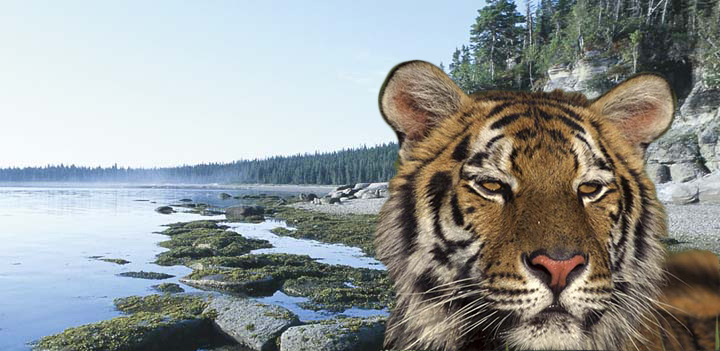
- But, it was more difficult because the hair on the edges is more specific. In order to make it more real-looking, I had to use the “lasso” tool to add jagged lines to the selection where the fur stuck out. Then I had to make adjustments in the “refine edges” box to ensure the green background was fully and neatly removed.
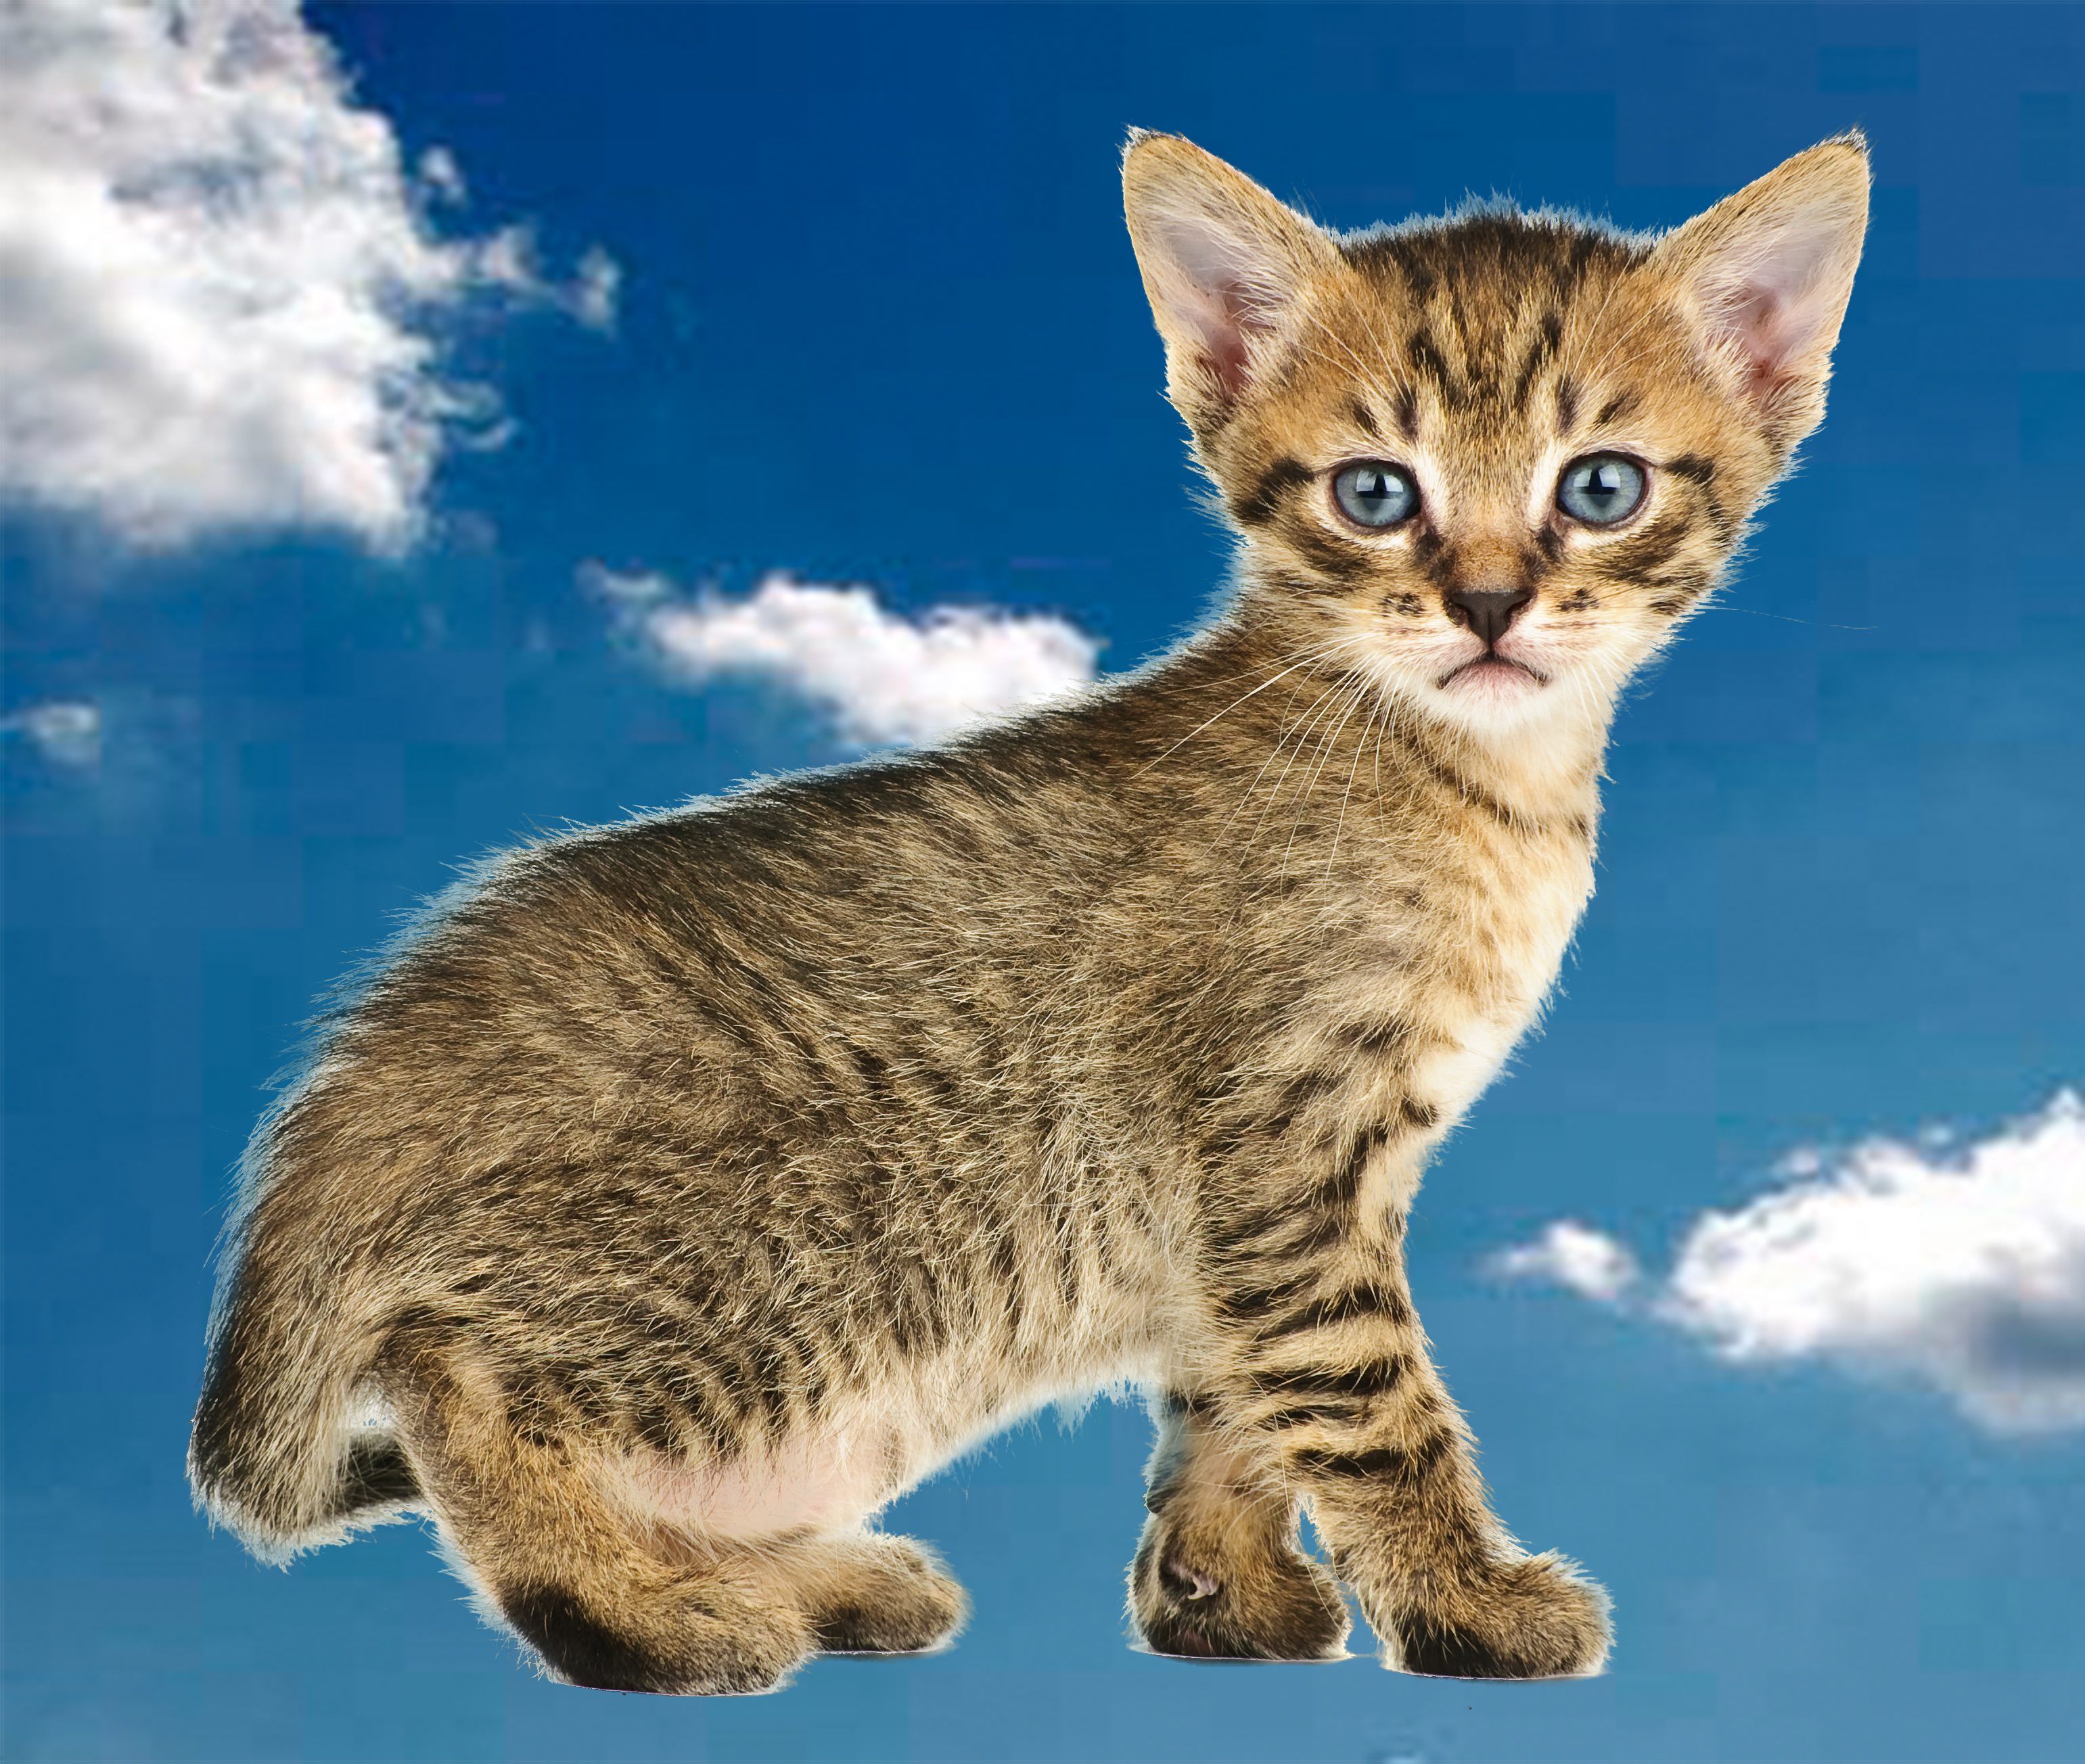
Kitten
- First, I went the to “channels” panel, right next to the layers panel, and duplicated the blue channel because it had the highest contrast.
- Then, I used the “command-L” command, and darkened the mid-tones on the blue channel so that the kitten was almost completely black. To make the rest of the kitten black, I used to the black paintbrush to fill the inside, but I used the “dodge and burn” tools for the outside fur. The dodge tool targets the “highlights,” while the burn tool targets the “shadows.” I dragged my mouse along the edges of the kittens with these tools selection to cleanly select and darken the fur.
-To convert the channel to a mask, I command-clicked on the blue copy layer and turned the other channels back on. Then I returned to the kitten layer and inverted the kitten so it was the only object selected.
- Lastly, to “defringe” the mask, I made sure to be on the kitten layer, then selected “layers” > “matting” > “color decontaminate.” This helped reduce the white edges around the cat. All done!
