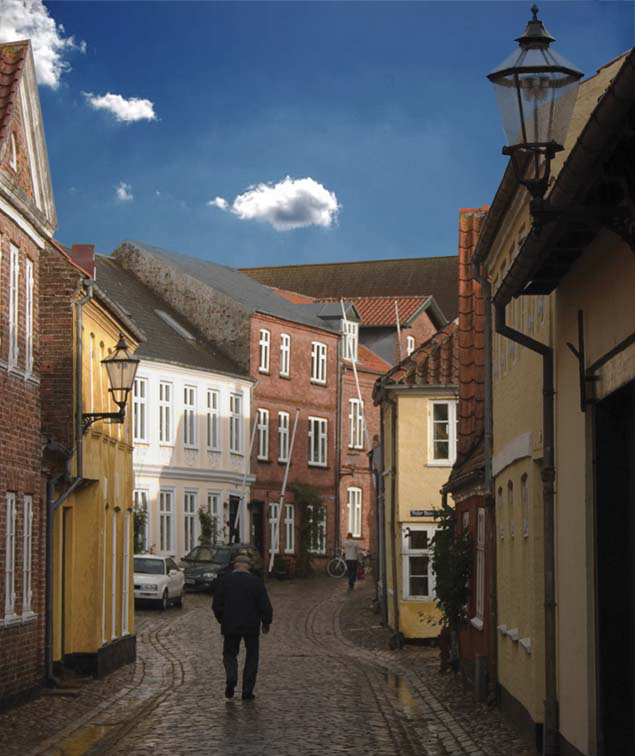
To replace the grey sky in the first city photo with the new blue sky, we had to create a clipping mask.
But before this, it was important to upload the second image by doing “file” “place embedded.” To make sure the image is no longer a smart object, right click on the image in the layers panel and click “rasterize.”
I aligned the sky with how I wanted it to appear when the grey sky was removed. I did this by selecting the sky with the “polygonal selection tool” and then using the “select” “inverse” tool to select the city.
Then I clicked the tool on the bottom of the layers panel, called “add vector mask” to cut out the sky and replace it with the new sky.
To make the lamp post look more realistic, I use the grey color on the foreground swatch in order to add some transparency.
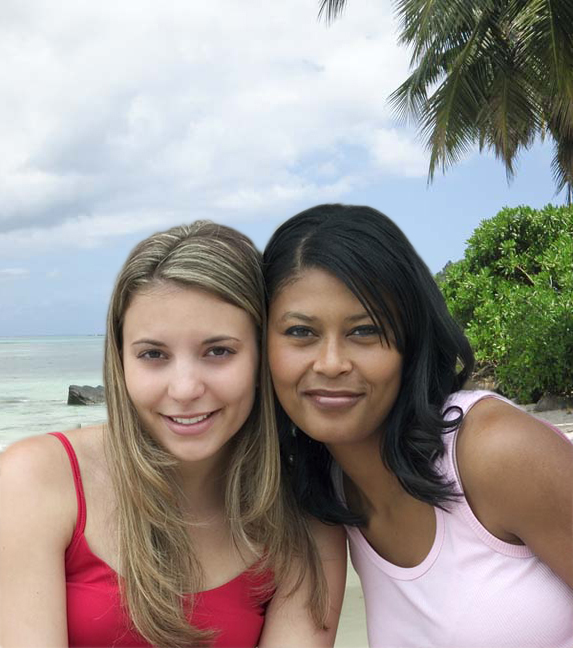
On the second image of the girls on the beach, I selected the girls with the “direct selection tool” then used the same tool, the “add vector mask” to replace the grey background with the beach background.
To adjust any faults in the clipping mask, I double clicked on the photo of the clipping mask in the layers panel, which opened up more options, such as “smooth,” “feather,” “contrast,” and “shift edge.” All of these tool help to clean up the edges of the cut out. The panel on the left included paintbrush tools that help add and subtract from the selection.