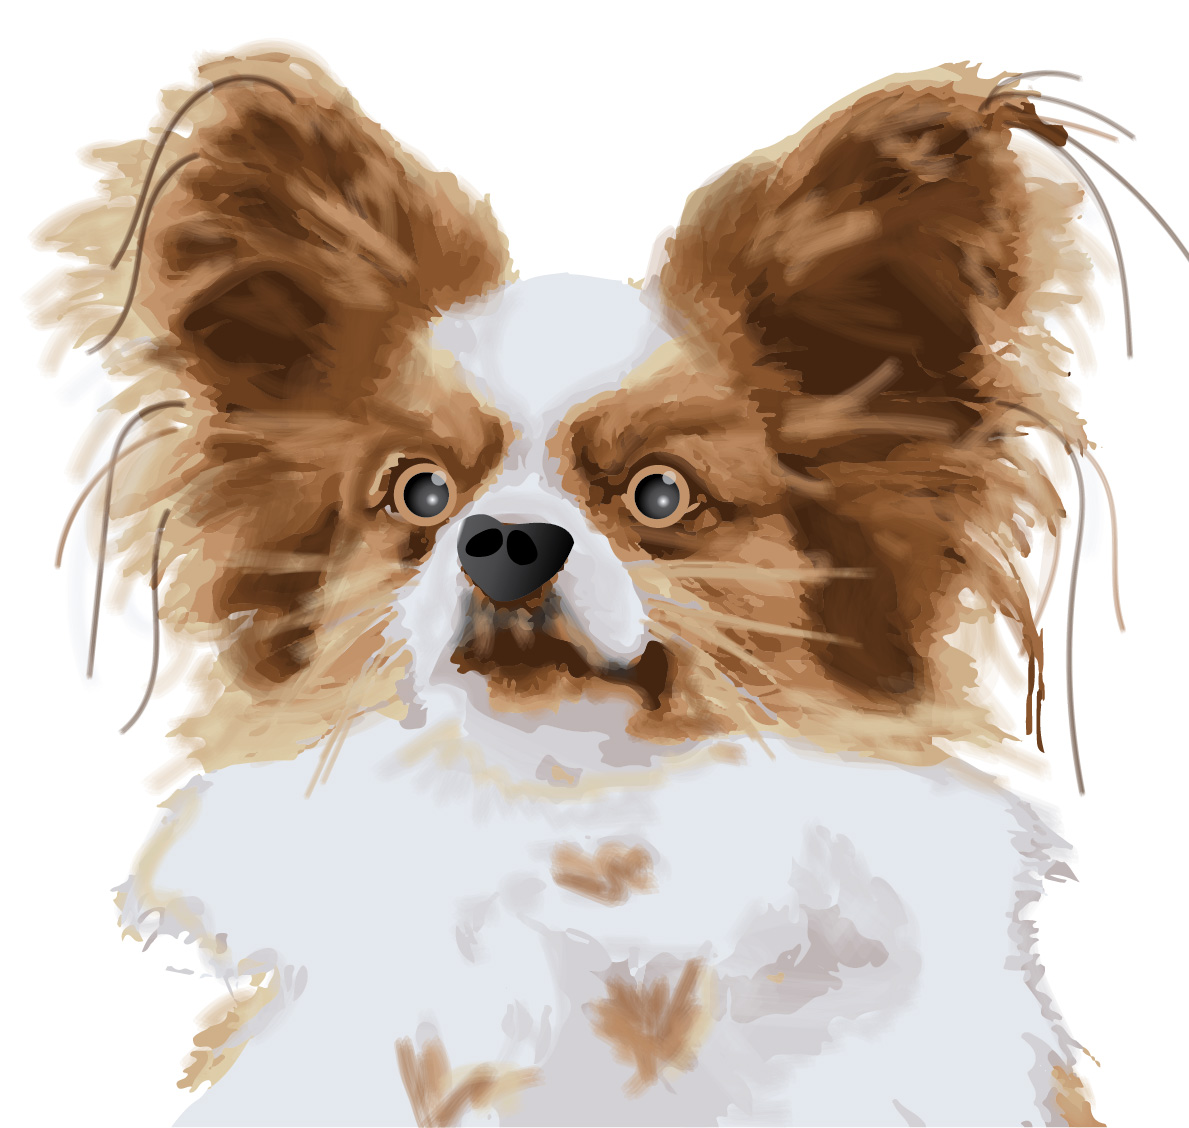
The main tool used in creating this dog was the Image Trace Tool.
Once the image is placed on the art board, select “Image Trace” > “16 Colors.” The image becomes digitalized.
Then use the command “Object” > “Expand” and “Object” > “Ungroup” in order to delete the background and manipulate each piece of the dog separately.
An important tool to use to delete the background (or change colors to match other colors on the image) is the command “Select” > “Same” > “Fill and Stroke.”
For the rest of the dog, I created swatches from the original image then used the paintbrush tool the make it appear more “fuzzy.”
The paintbrush tool can be changed to different strokes and opacities, which adds layer and depth to the dog.
I then created a new nose for the dog using the pen tool and the gradient tool.
Lastly, I created new eyes for the dog using the ellipse tool and the gradient tool.