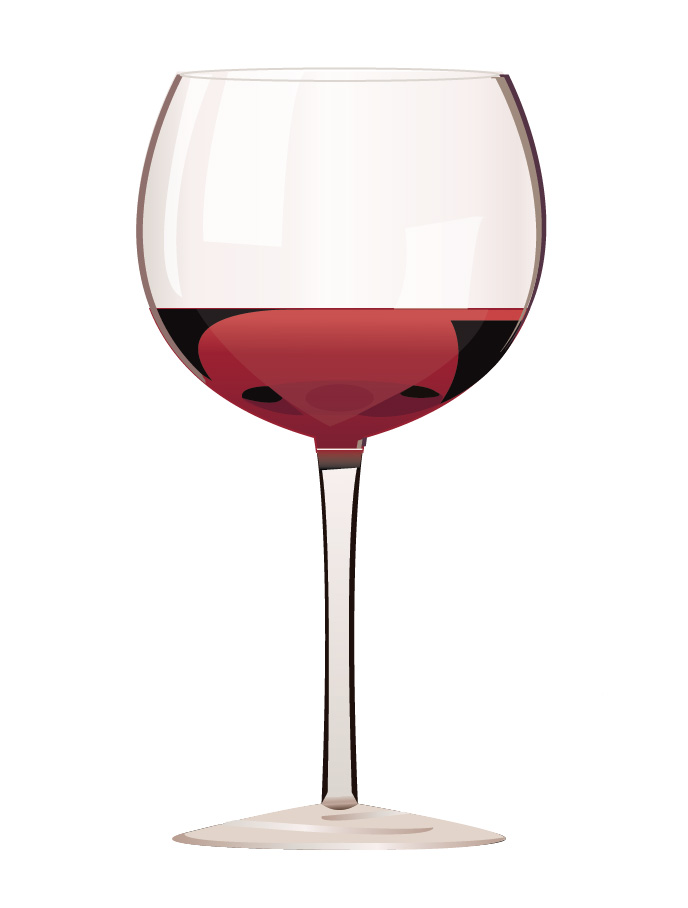
First I outlined the half of the original wine glass with the pen tool, then I copy & pasted and reflected it so the that I would have a symmetrical glass.
I used pathfinder quite a bit to create the small lines on the edges of the glass. I would overlap two full wine glasses and only select the small part showing behind the top glass.
The main tool of this assignment was the gradient tool, which I used for the glass, the wine, the stem, and the accents on the bottom. It is important to use the eyedropper to grab colors from the original image and save those colors to “swatches” by creating a new swatch. Then these new swatches can be used to create accurate gradients.
Double click on the gradient scale to add a new color to the gradient. Drag back and forth to adjust the darkness and lightness of the gradient. Gradients can be saved as swatches and used again.
Changing the opacity of colors helps in creating the glare on the glass and the liquid texture of the wine.
I added small shapes with the pen tool to create the accents on the wine glass. All done!