Start by making half of the vase using the pen tool: simply click and drag to make straight lines, and click and drag while holding down to create curved edges.
Always finish the shape by clicking the first point to close the edges.
Use the option key to temporarily delete the guiding lines in order to make a straight point connected to the previous curves point.
To complete the vase, copy and paste the half vase, then use the “rotate” > “flip” tool to mirror the other side of the vase. When this is done, use pathfinder and combine these two pieces.
Adding a gradient: go to the gradient tool and select a color swatch. Use the white box and black box to adjust the darkness and lightness of the gradient. Use the gradient on the tool bar to make the “bar” appear, which provides a visual of the angle and colors of the gradient in the shape.
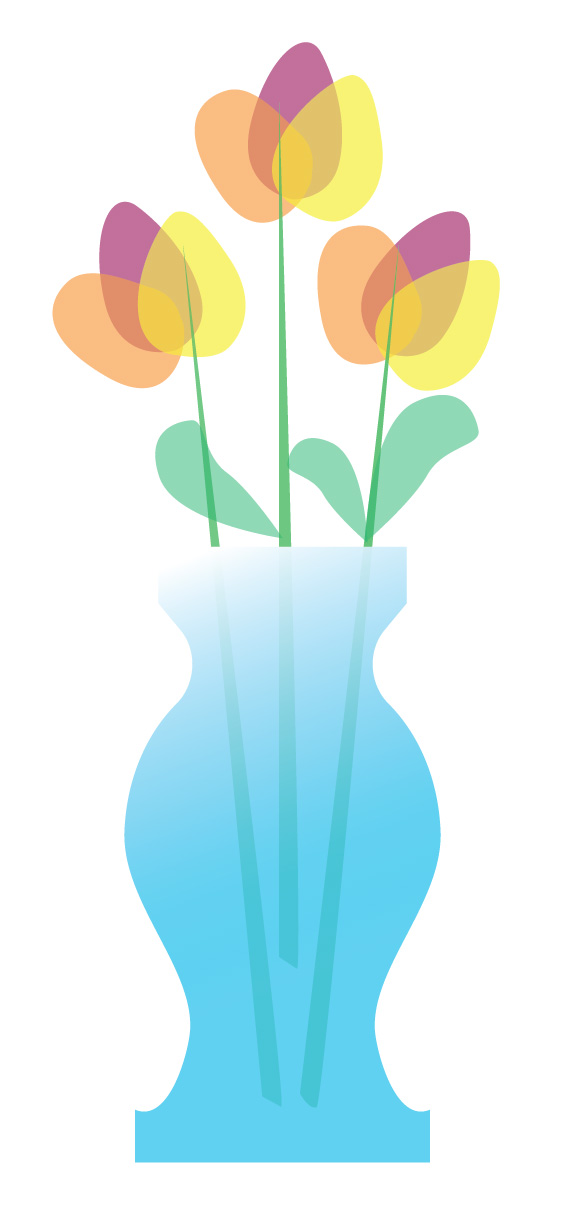
Using the pen tool again, make the flower pedals by holding down the pen tool while dragging to make curved edges. The leaves are created the same way.
Change the opacity, overlap the flowers, and group them together.
Create the flower stems by dragging a long line with the pen tool and creating a small curve at the bottom, followed by another long line to connect the points. Send them to back, behind the vase.