First, I embedded an image of the real olympic rings into a new 8.5 x 11 horizontal Illustrator board. This made it possible for me to create the new, identical olympic rings from scratch. In order to keep this design organized, I created and named two separate layers: one for the original olympic logo and one for my new design.
In order to keep the same colors as the original logo, I created swatches of each color by using the eye dropper tool and saving each color as a new swatch.
I created a single olympic ring by using the ellipse tool and matching it to the exact size of the ring on the image I embedded. Then I made a smaller inner circle by matching it up to the inside of the ring on the picture I embedded. I selected both rings, vertically and horizontally aligned them, and used the pathfinder tool to erase the middle. I then copy and pasted my new ring 5 times and placed each ring over the existing ring from the picture to create a new and identical logo.
I then used to the color swatches I created to color each ring to match the original image.
To color the pieces of the rings that overlap each other, I selected all of the rings, used the pathfinder, and used the “divide” command to separate the circles into segments. Once again, I used the saved color swatches colors the pieces to make them overlap each other. (Alt option: Use the Live Paint Bucket tool to color these pieces)
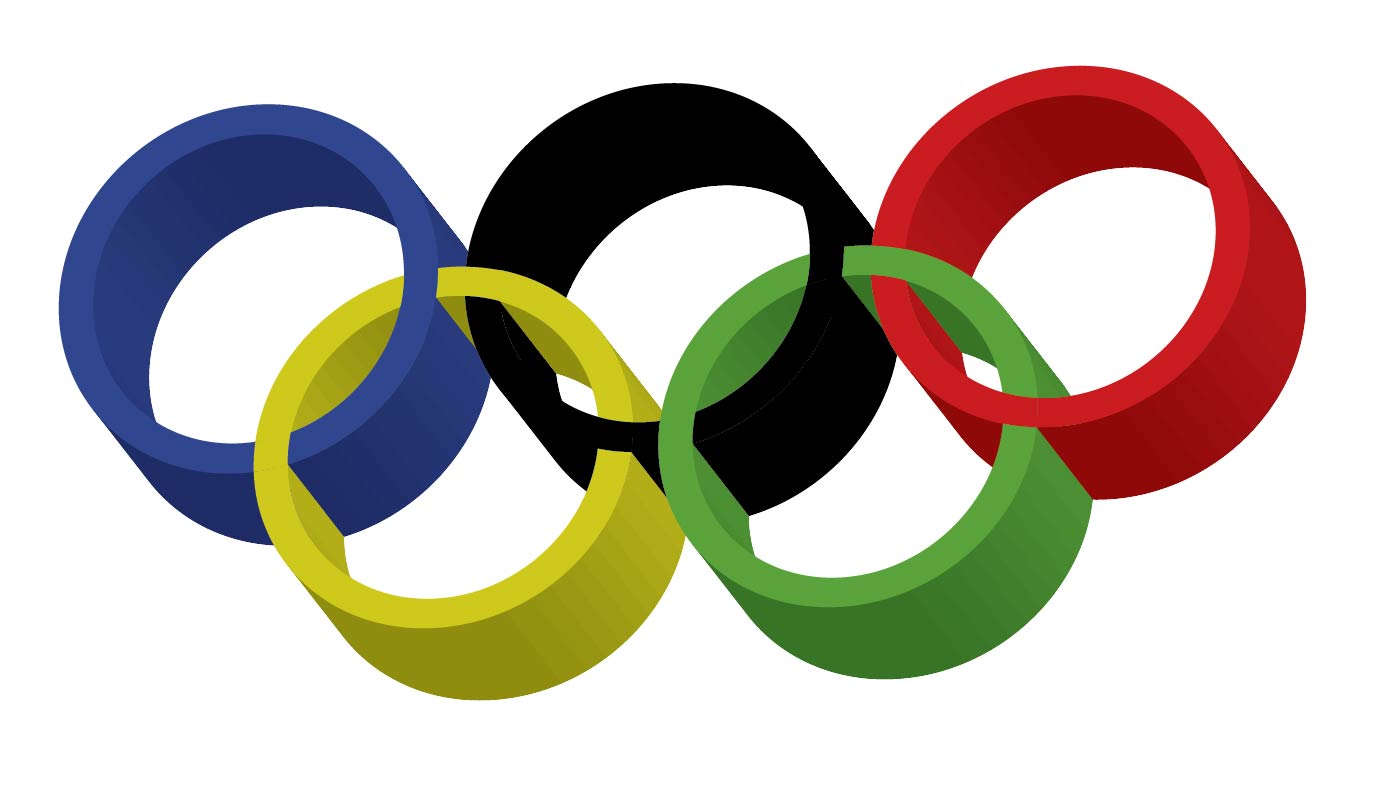
In order to make the rings 3D, I went to “Effect” and then 3D to play with the visual options.
Use the Artboard tool to select just the image you created and save it as a JPEG.
All done!
Extra note on saving files as a JPEG to upload: File, Export As…, JPEG, Select Use Artboards, Set Resolution to Medium, Save!